Healthy Living, Recipes

Oaty Apple Crumble

IMG_0199

I am so pleased with how this recipe turned out!

Apple crumble has to be one of my all-time favourite desserts, and this is a great healthy version made with oats. The crunch you get from using walnuts means you can omit the butter and it’s much lower in sugar than other versions too. Let me know if you try it and what you think!


Ingredients
(for the filling)
Approximately 5 large apples
1 tsp cinnamon
(for the topping)
50g + 20g oats (or 50g oat flour + 20g oats)
50g walnuts
1 tbsp coconut oil
1 tbsp honey
1 tsp cinnamon

Method
1. Preheat the oven to 200’c.
2. Cut the apples into bitesize chunks (no need to peal if you don’t want to!). Add the cinnamon and place in a pan with a lid on a low heat. Leave to stew for 5-10 minutes.
3. Using a food processor, blend 50g of the oats until you have a flour (this can take a while!).
4. Meanwhile, melt the coconut oil in the microwave.
5. Once the oats are ground, tip the honey and coconut oil into the food processor. Mix together.
6. Add the additional 20g of oats, the walnuts and cinnamon and blitz it all together until the nuts are chopped. You should have a mixture that resembles a crumble topping.
7. Tip the stewed apples into a dish and cover with the topping. Pop in oven for approx. 20 minutes, or until the crumble topping has gone slightly golden.

IMG_0201Serve with a dollop of Greek yoghurt or custard!

Nutritional info per portion
(based on above serving 6 people)
Calories: 218kcal
Fat: 10g
Saturated fat: 3.5g
Protein: 3.5g

Recipes, Reviews

Cirkle recipe kit review

Last month Cirkle kindly sent me a 3 recipe kits to try. If you haven’t heard of this company, they are a grocery home delivery service providing organic and artisan products. As well as that, they offer a free recycling service, aiming to ‘make it easy to eat well and do good’, a philosophy I can wholeheartedly agree with.

They have a wide range of products available; from fruit and vegetables to meat and dairy, lentils and pasta to baby food! Plus, they have a flexible, well-organised delivery service that enables you to find a day and time that will suit you.

With the recipe kits, you can choose to purchase each individually, or opt for a set of 3 predetermined recipes in their recipe package. Each recipe comes for either 2, 4 or 6 people and the prices (for 2 people) range from €6.24 to €20.07 per recipe. The package, to include 3 recipe kits, are priced as follows: €39.99 (2 people), €69.99 (4 people) or €99.98 (6 people).

I was very excited to get stuck in…

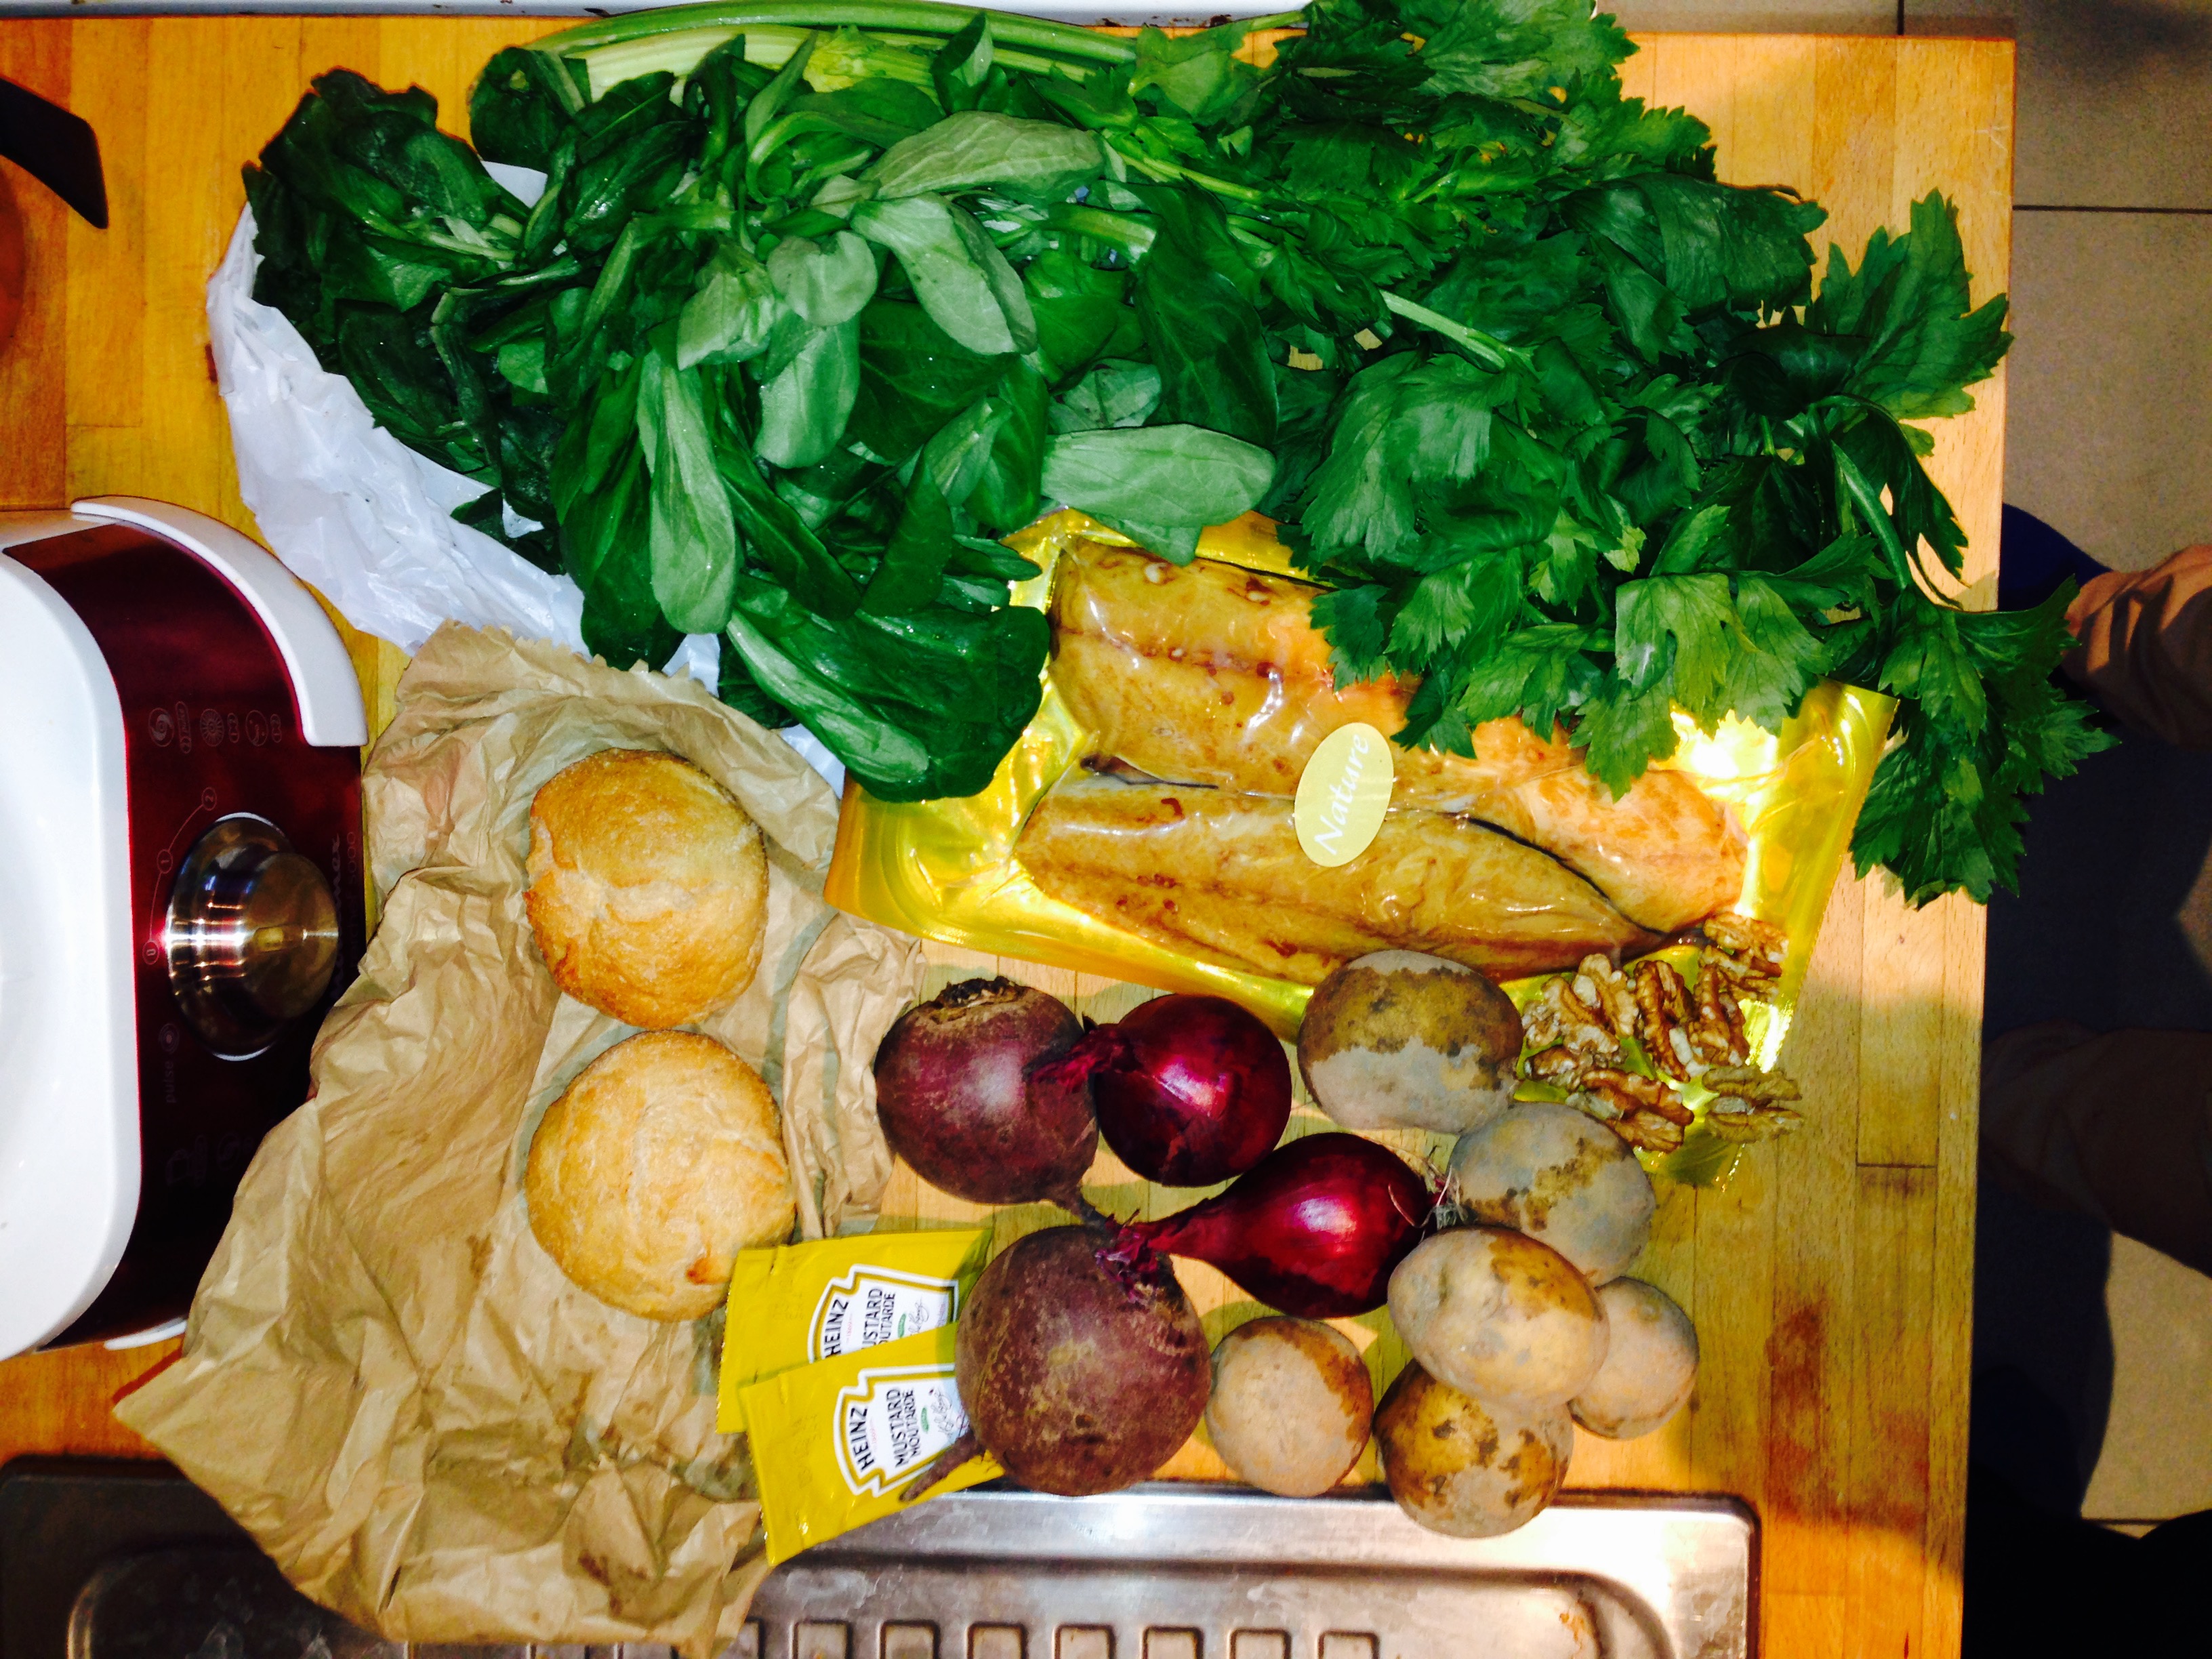
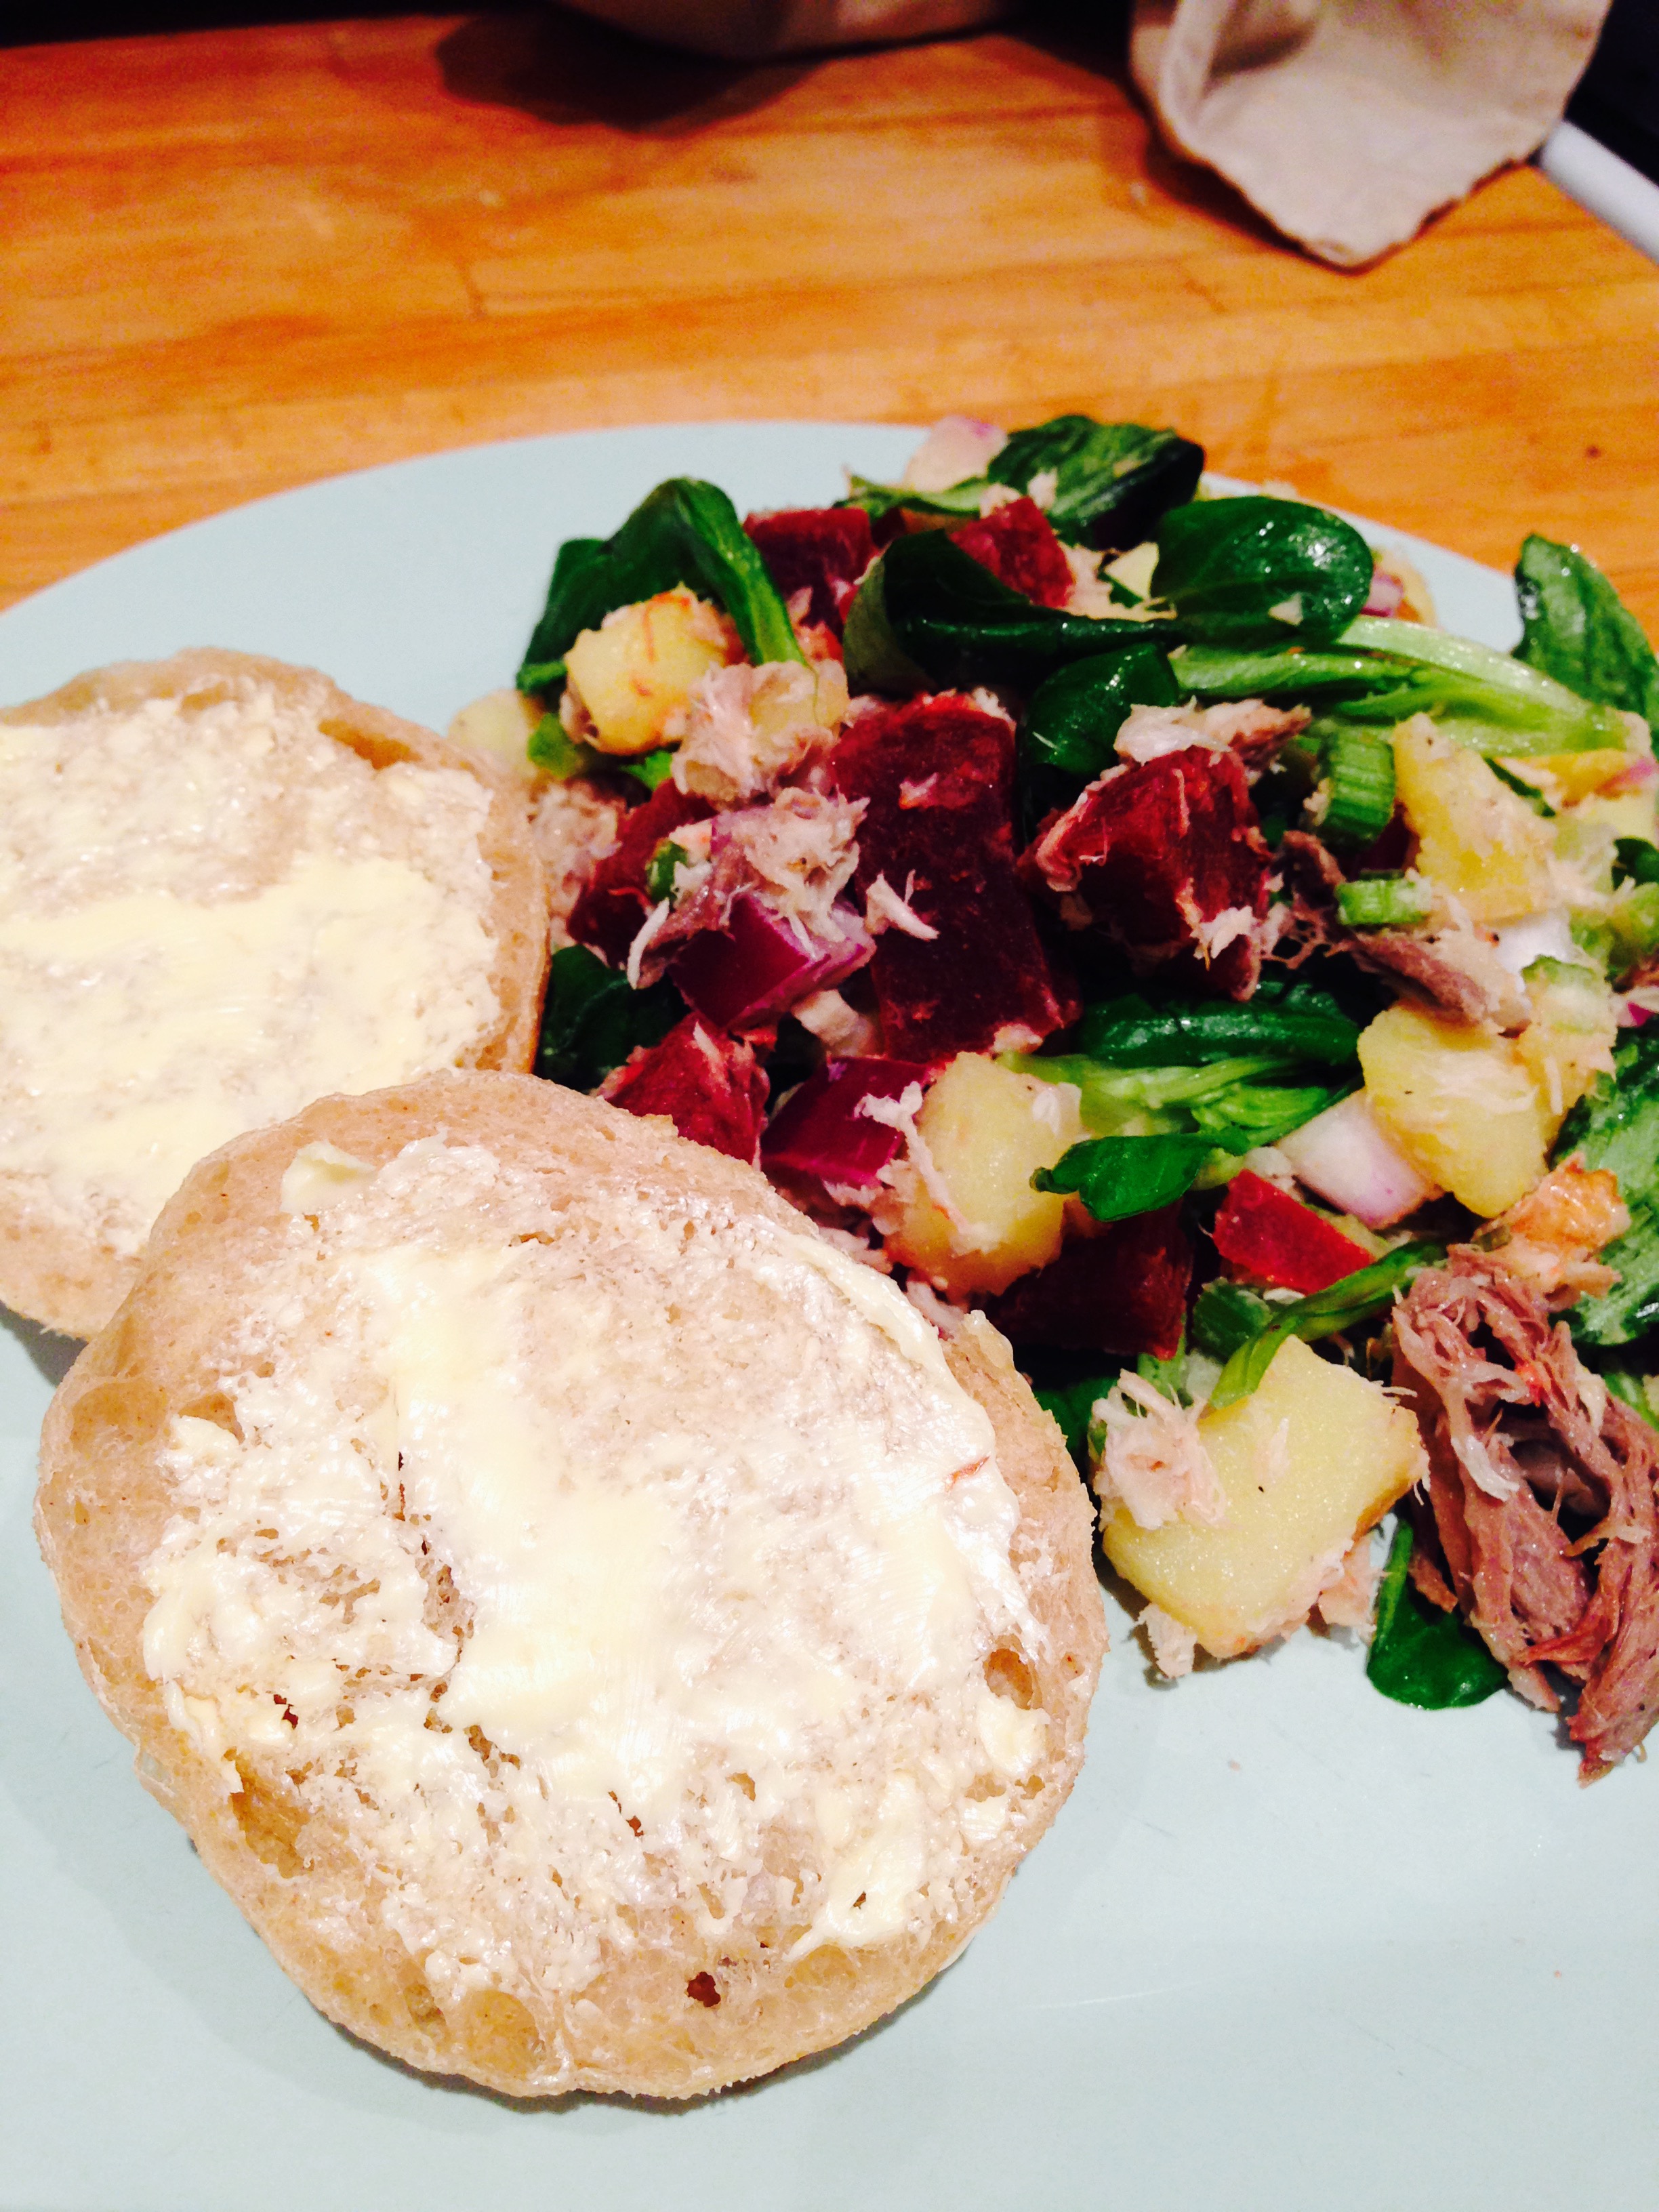
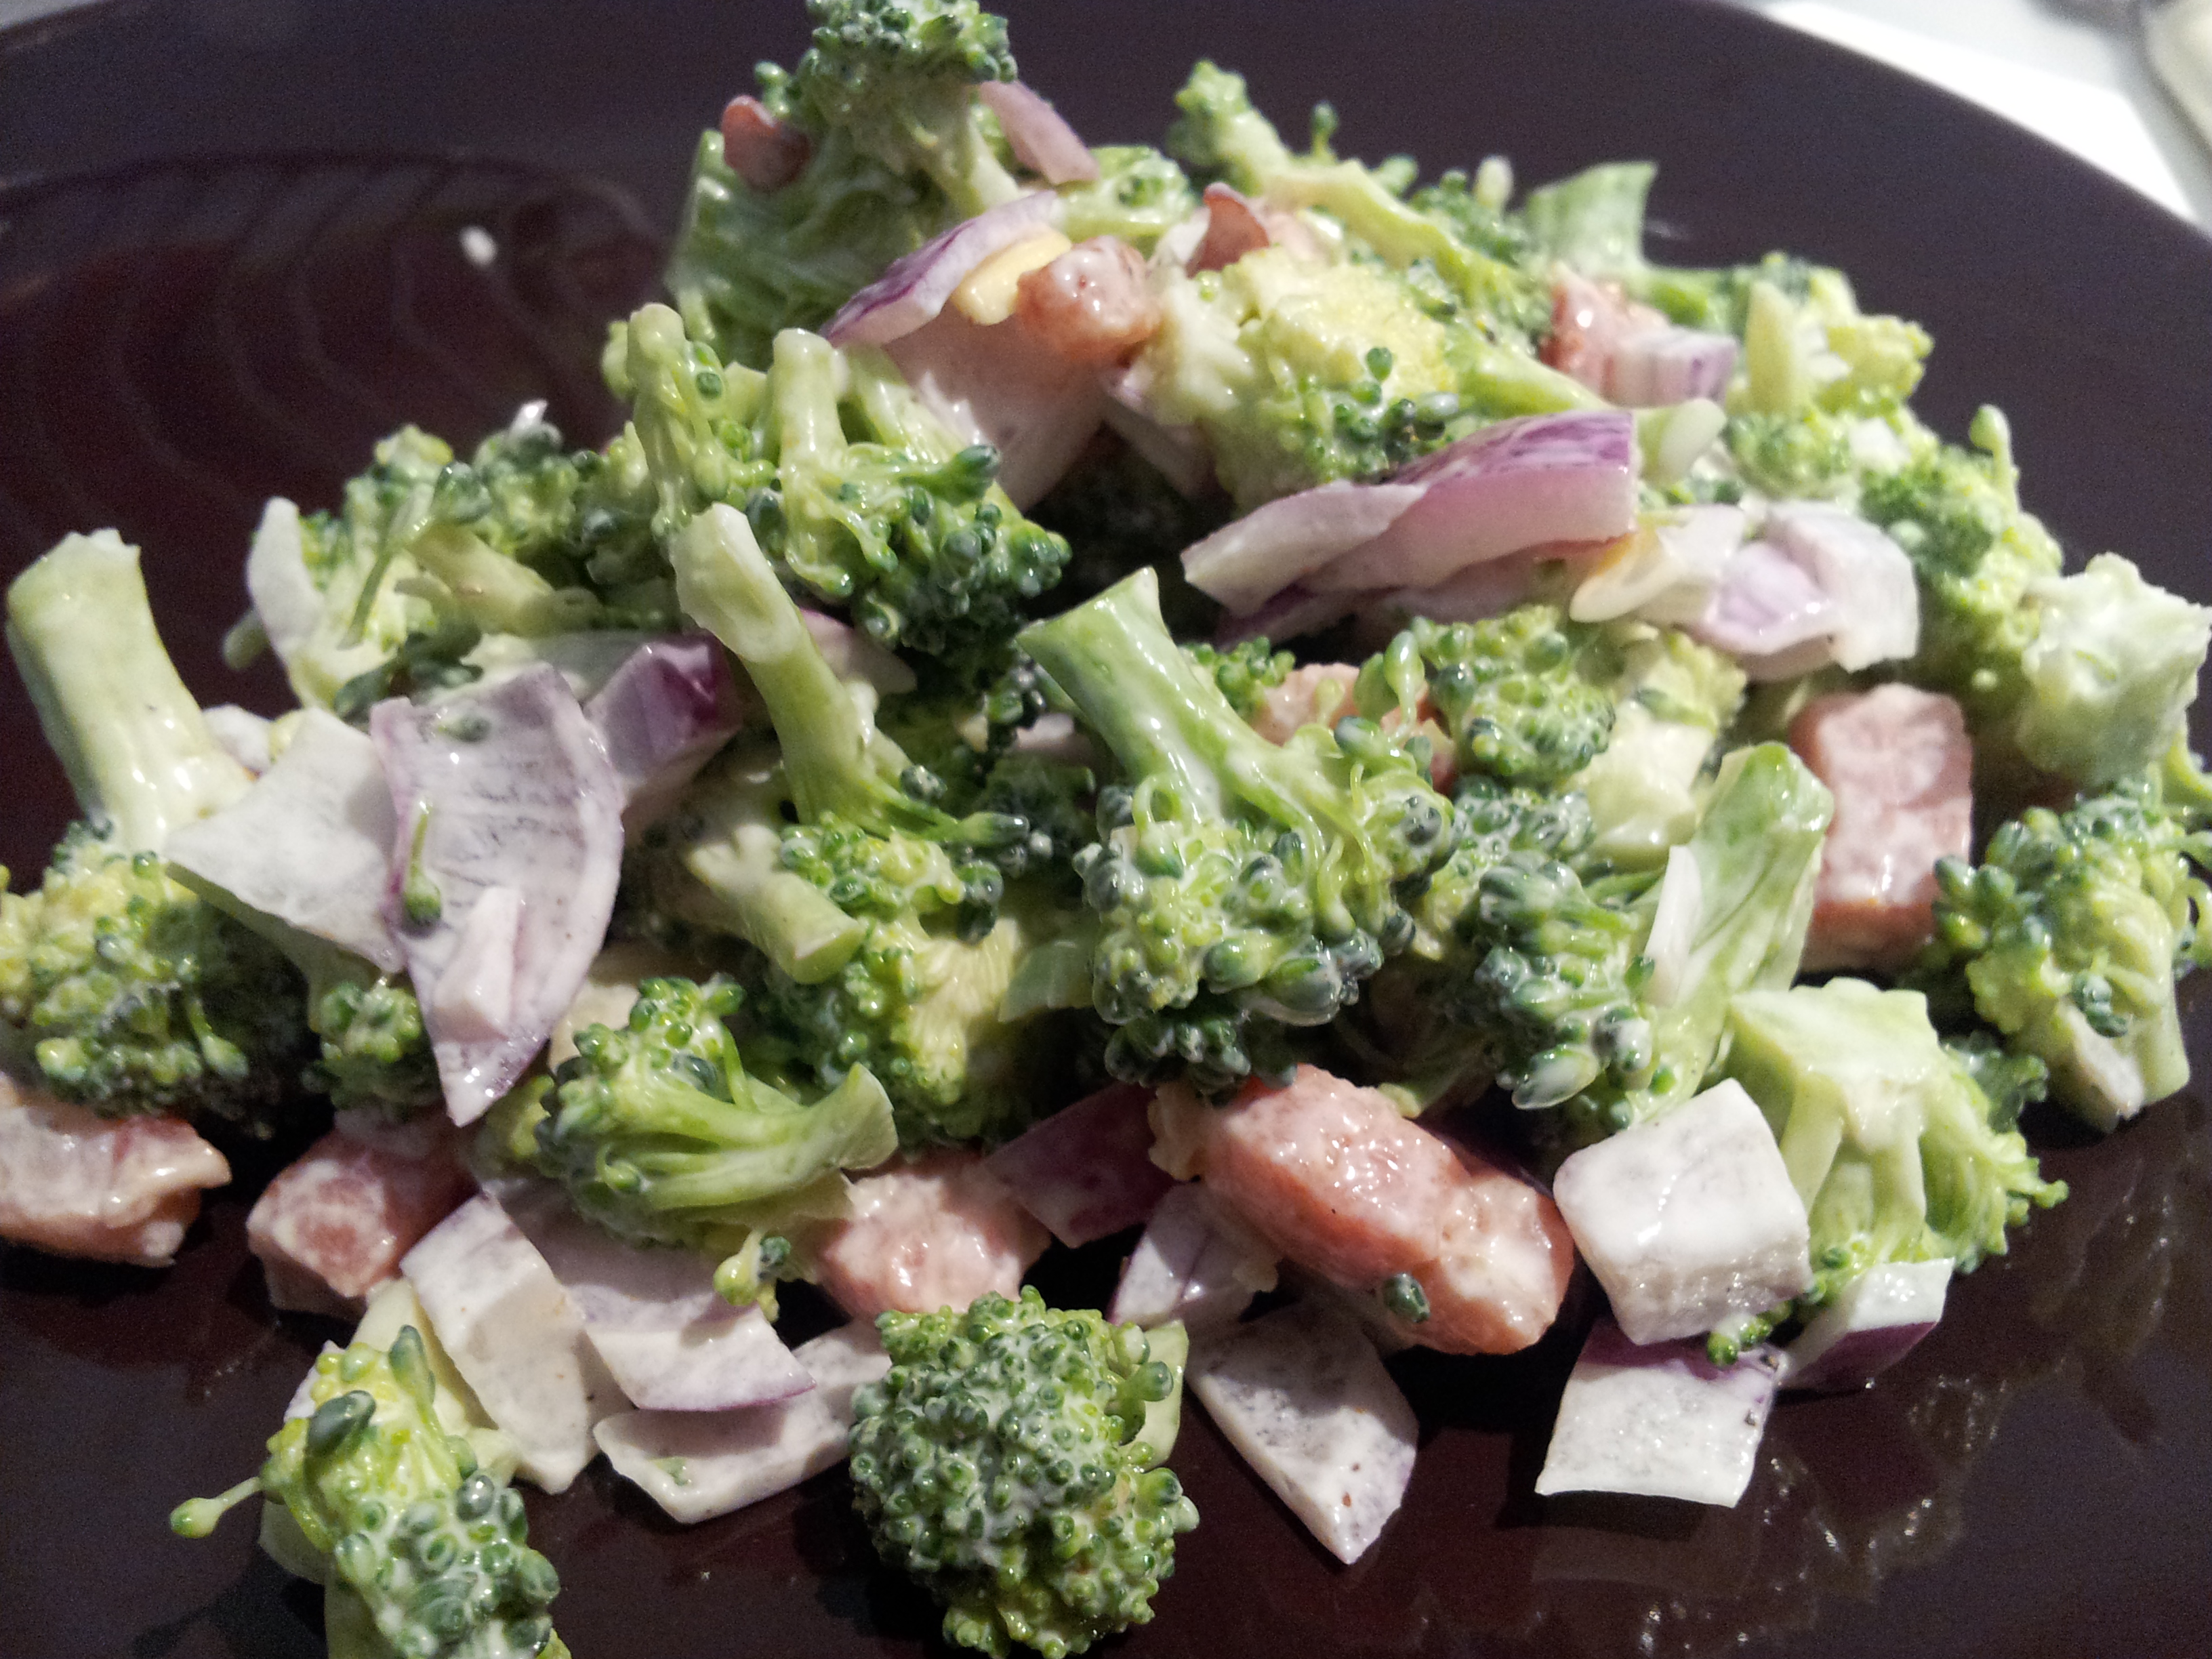
Warm mackerel and beetroot salad. (€15.73 for 2 people)

FullSizeRender2Firstly, the picture doesn’t do this food justice, the colour on this fruit and veg is simply amazing. But, I must admit, at first I wasn’t sure about this recipe. I’ve actually not cooked fresh beetroot before (I was put off from my mum always trying to get me to try the pickled stuff) and…warm lettuce?! But actually, this ended up being my favourite recipe of the lot. The smell as it was cooking was terrific, so mouthwatering, and the combination of colours looked appealing. FullSizeRender1
On tasting, the different textures from the raw onion, soft potato and crunchy lettuce was fantastic (you let the warm stuff cool slightly so the lettuce doesn’t wilt). The comfort of the warm beetroot was complimented by the subtle flavour of the celery and the stronger smoked mackerel. It was, quite simply, yum. And I will definitely be cooking this again.
FullSizeRenderIn terms of balance, there was plenty of veg *thumbs up*, and the meal contained a protein and potatoes as a starchy carb source – great! Also, mackerel is an oily fish, so good for poly-unsaturated fats and omega-3.
My only consideration was that I personally didn’t feel that the bread was necessary, I felt that the potato was sufficient. Especially given that this actually did us 4 meals – we both had it for lunch the following day – bargain!

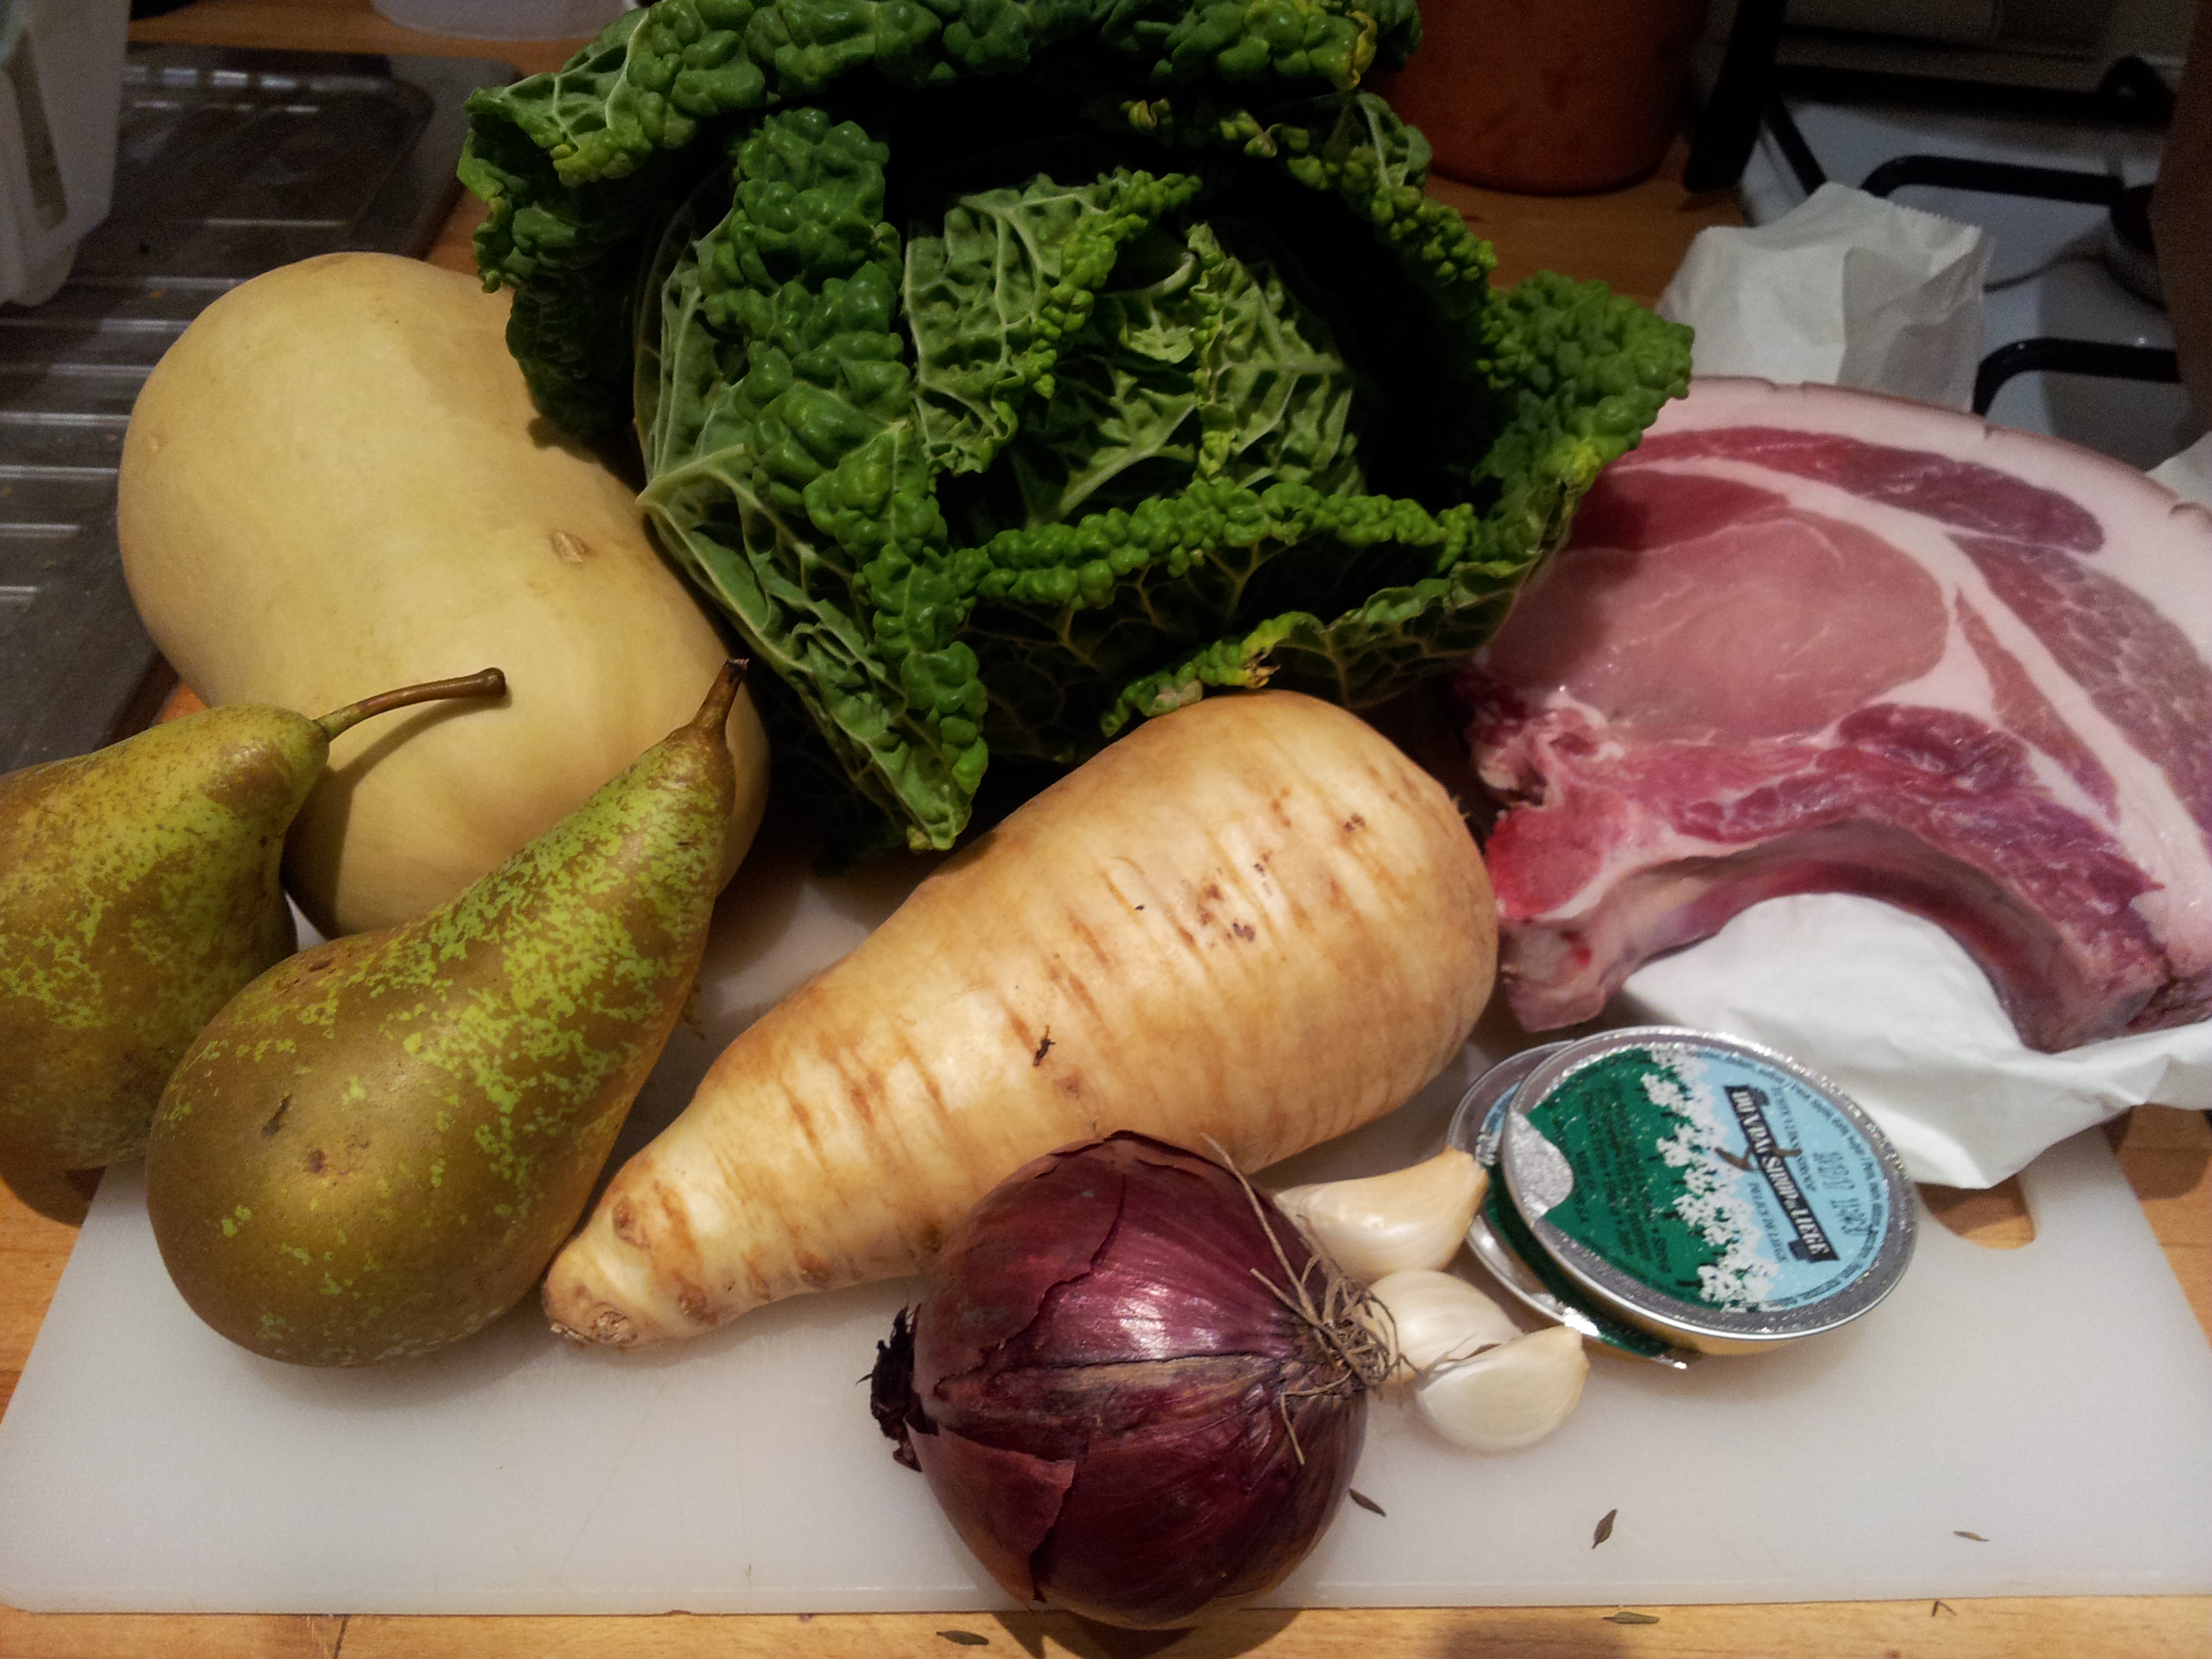
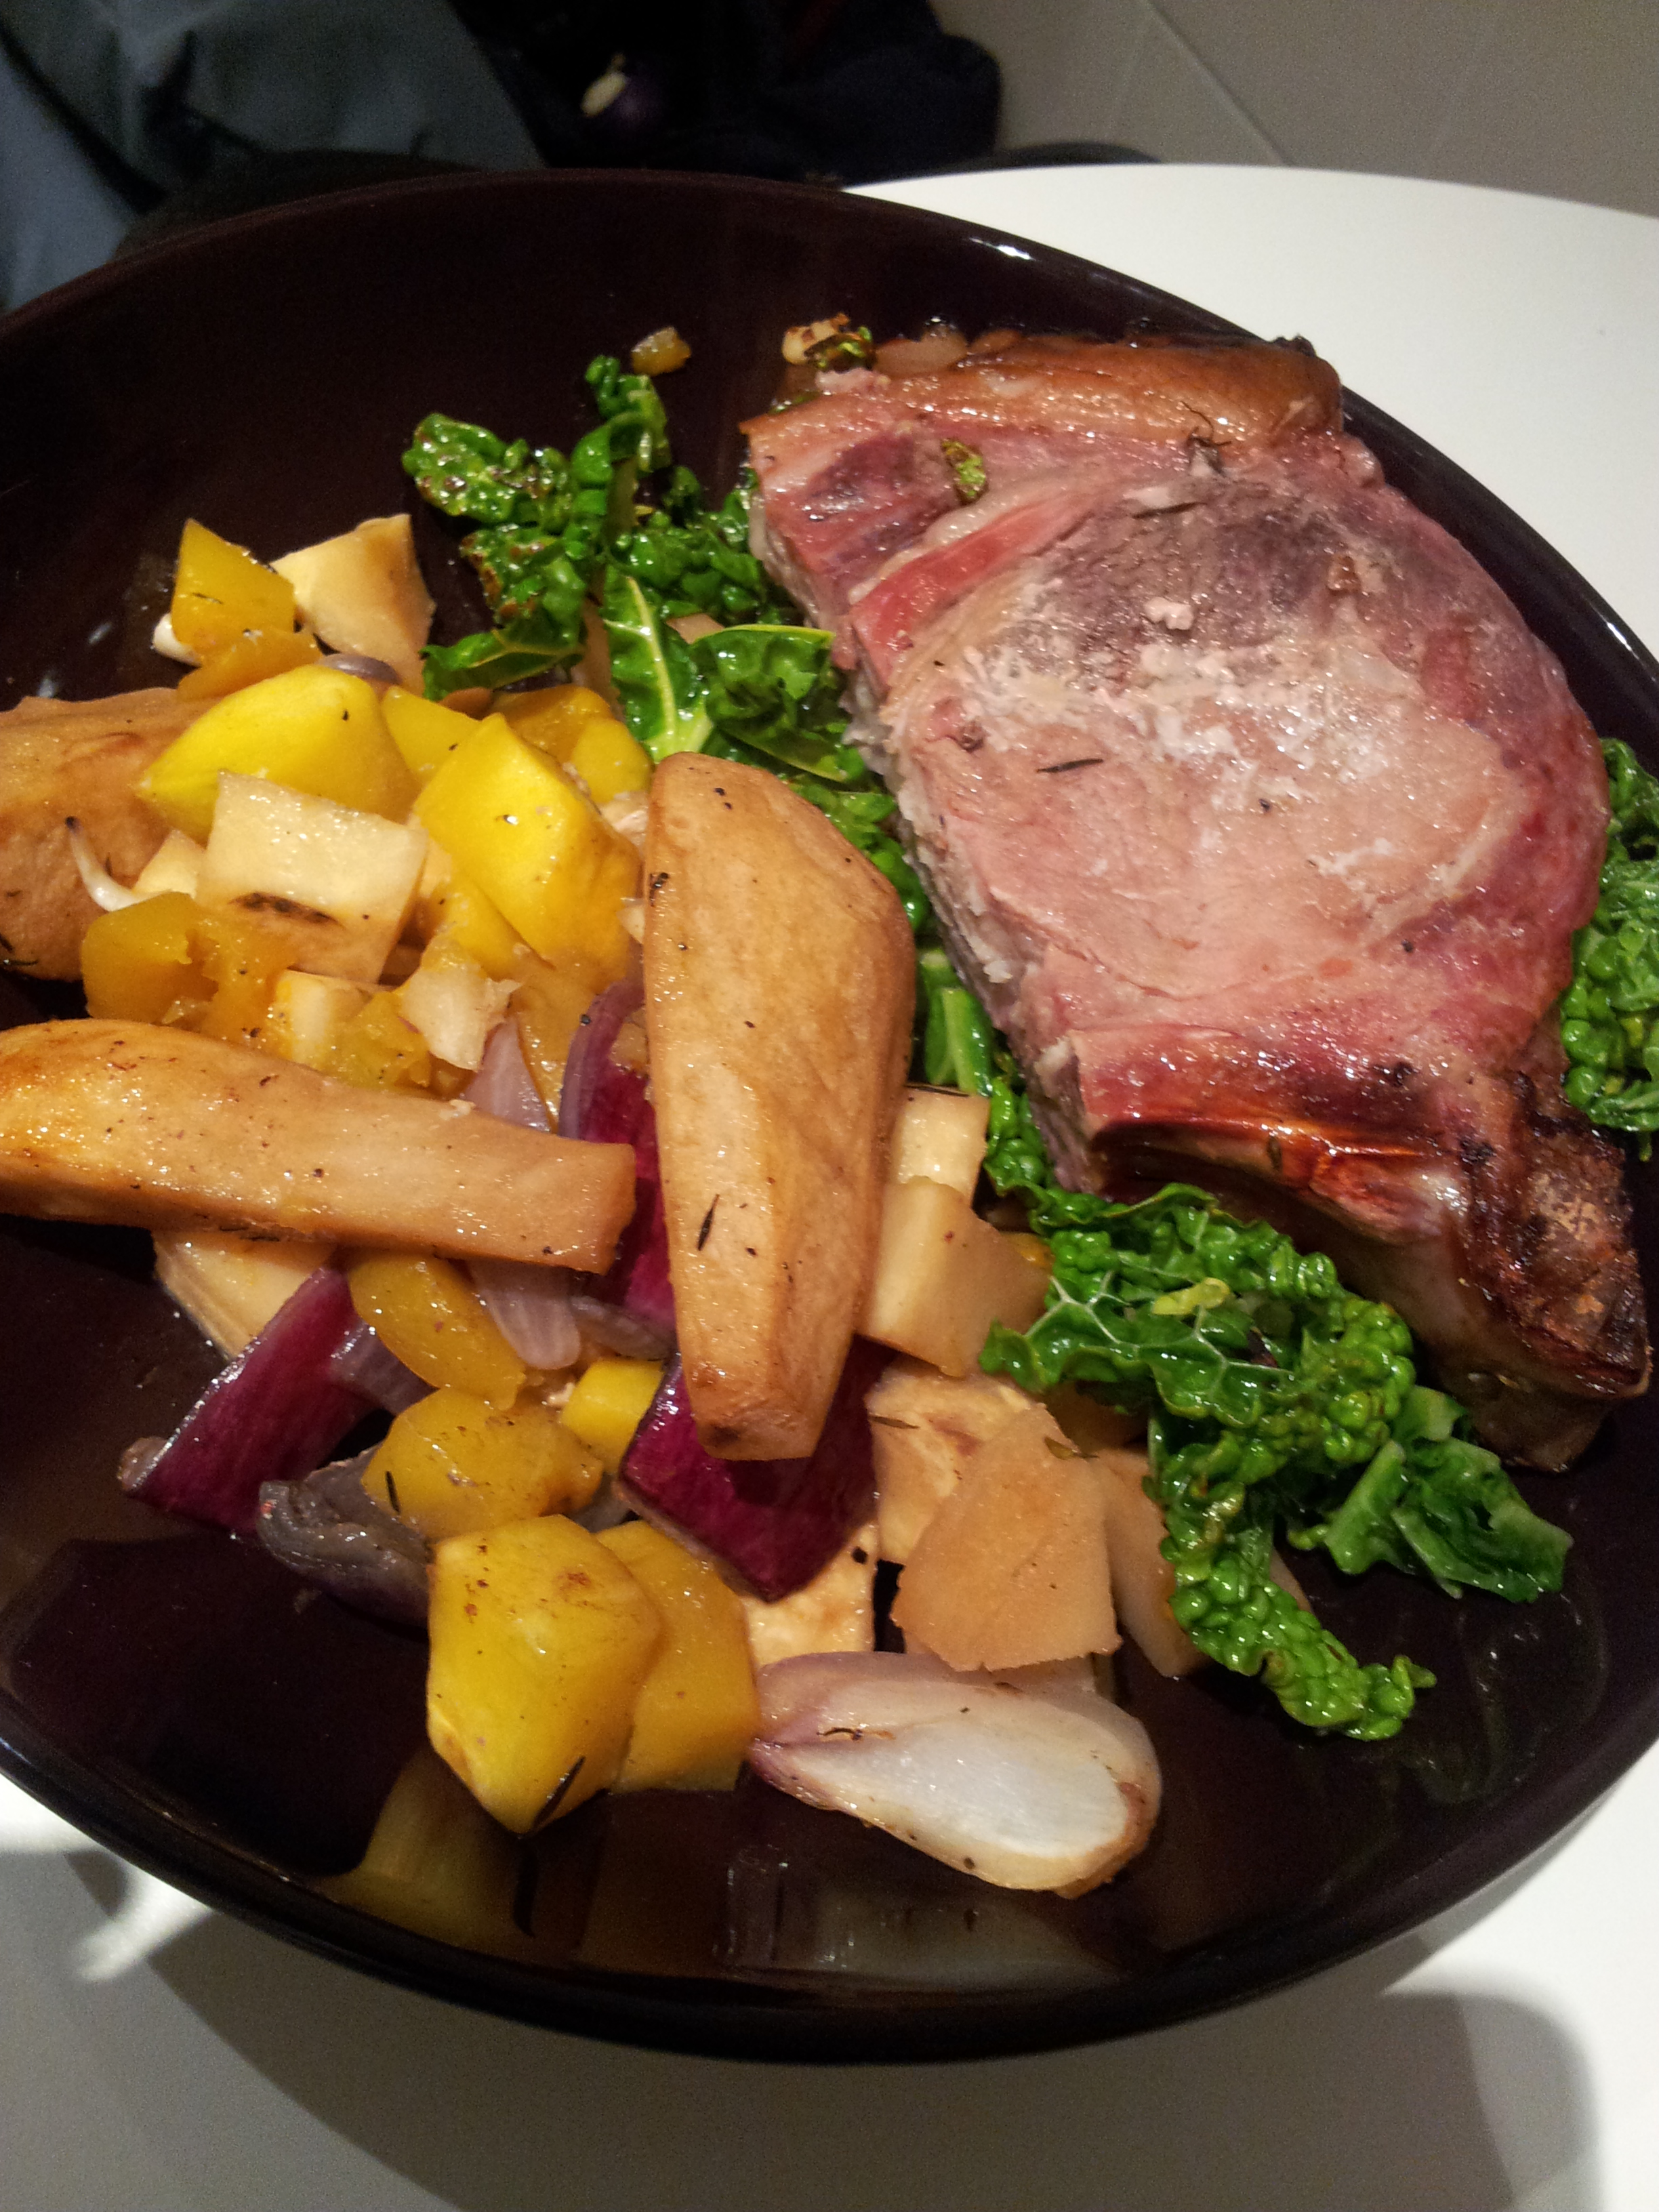
Roast pork with pears and parsnips. (€20.07 for 2 people)

20150925_201942

This is a dish that sounded right up my street. Cooked using minimal equipment, and it contains some of my favourite vegetables and flavours. This recipe was very easy to put together, and the quality of the meat (sourced from Jack O’Shea) was obvious even before cooking.
Again, the combination of flavours worked really well. I love pear and parsnip and it was perfect with the pork, making a change from the usual apple. 20150925_222143We used all of the ingredients except half the cabbage, and there was still veg left in our pot for an extra 2 meals….I could get used to this!
I found this meal really satisfying, however, although you would be getting some carbohydrates from the vegetables, it does lack a source of starchy carbohydrate. It might also be worth tweaking the recipe slightly if you’re watching the amount of saturated fat in your diet, as cooking it all together means that the veg soaks up a lot of fat from the pork. All in all though? Another tasty recipe and I was loving all these leftovers!

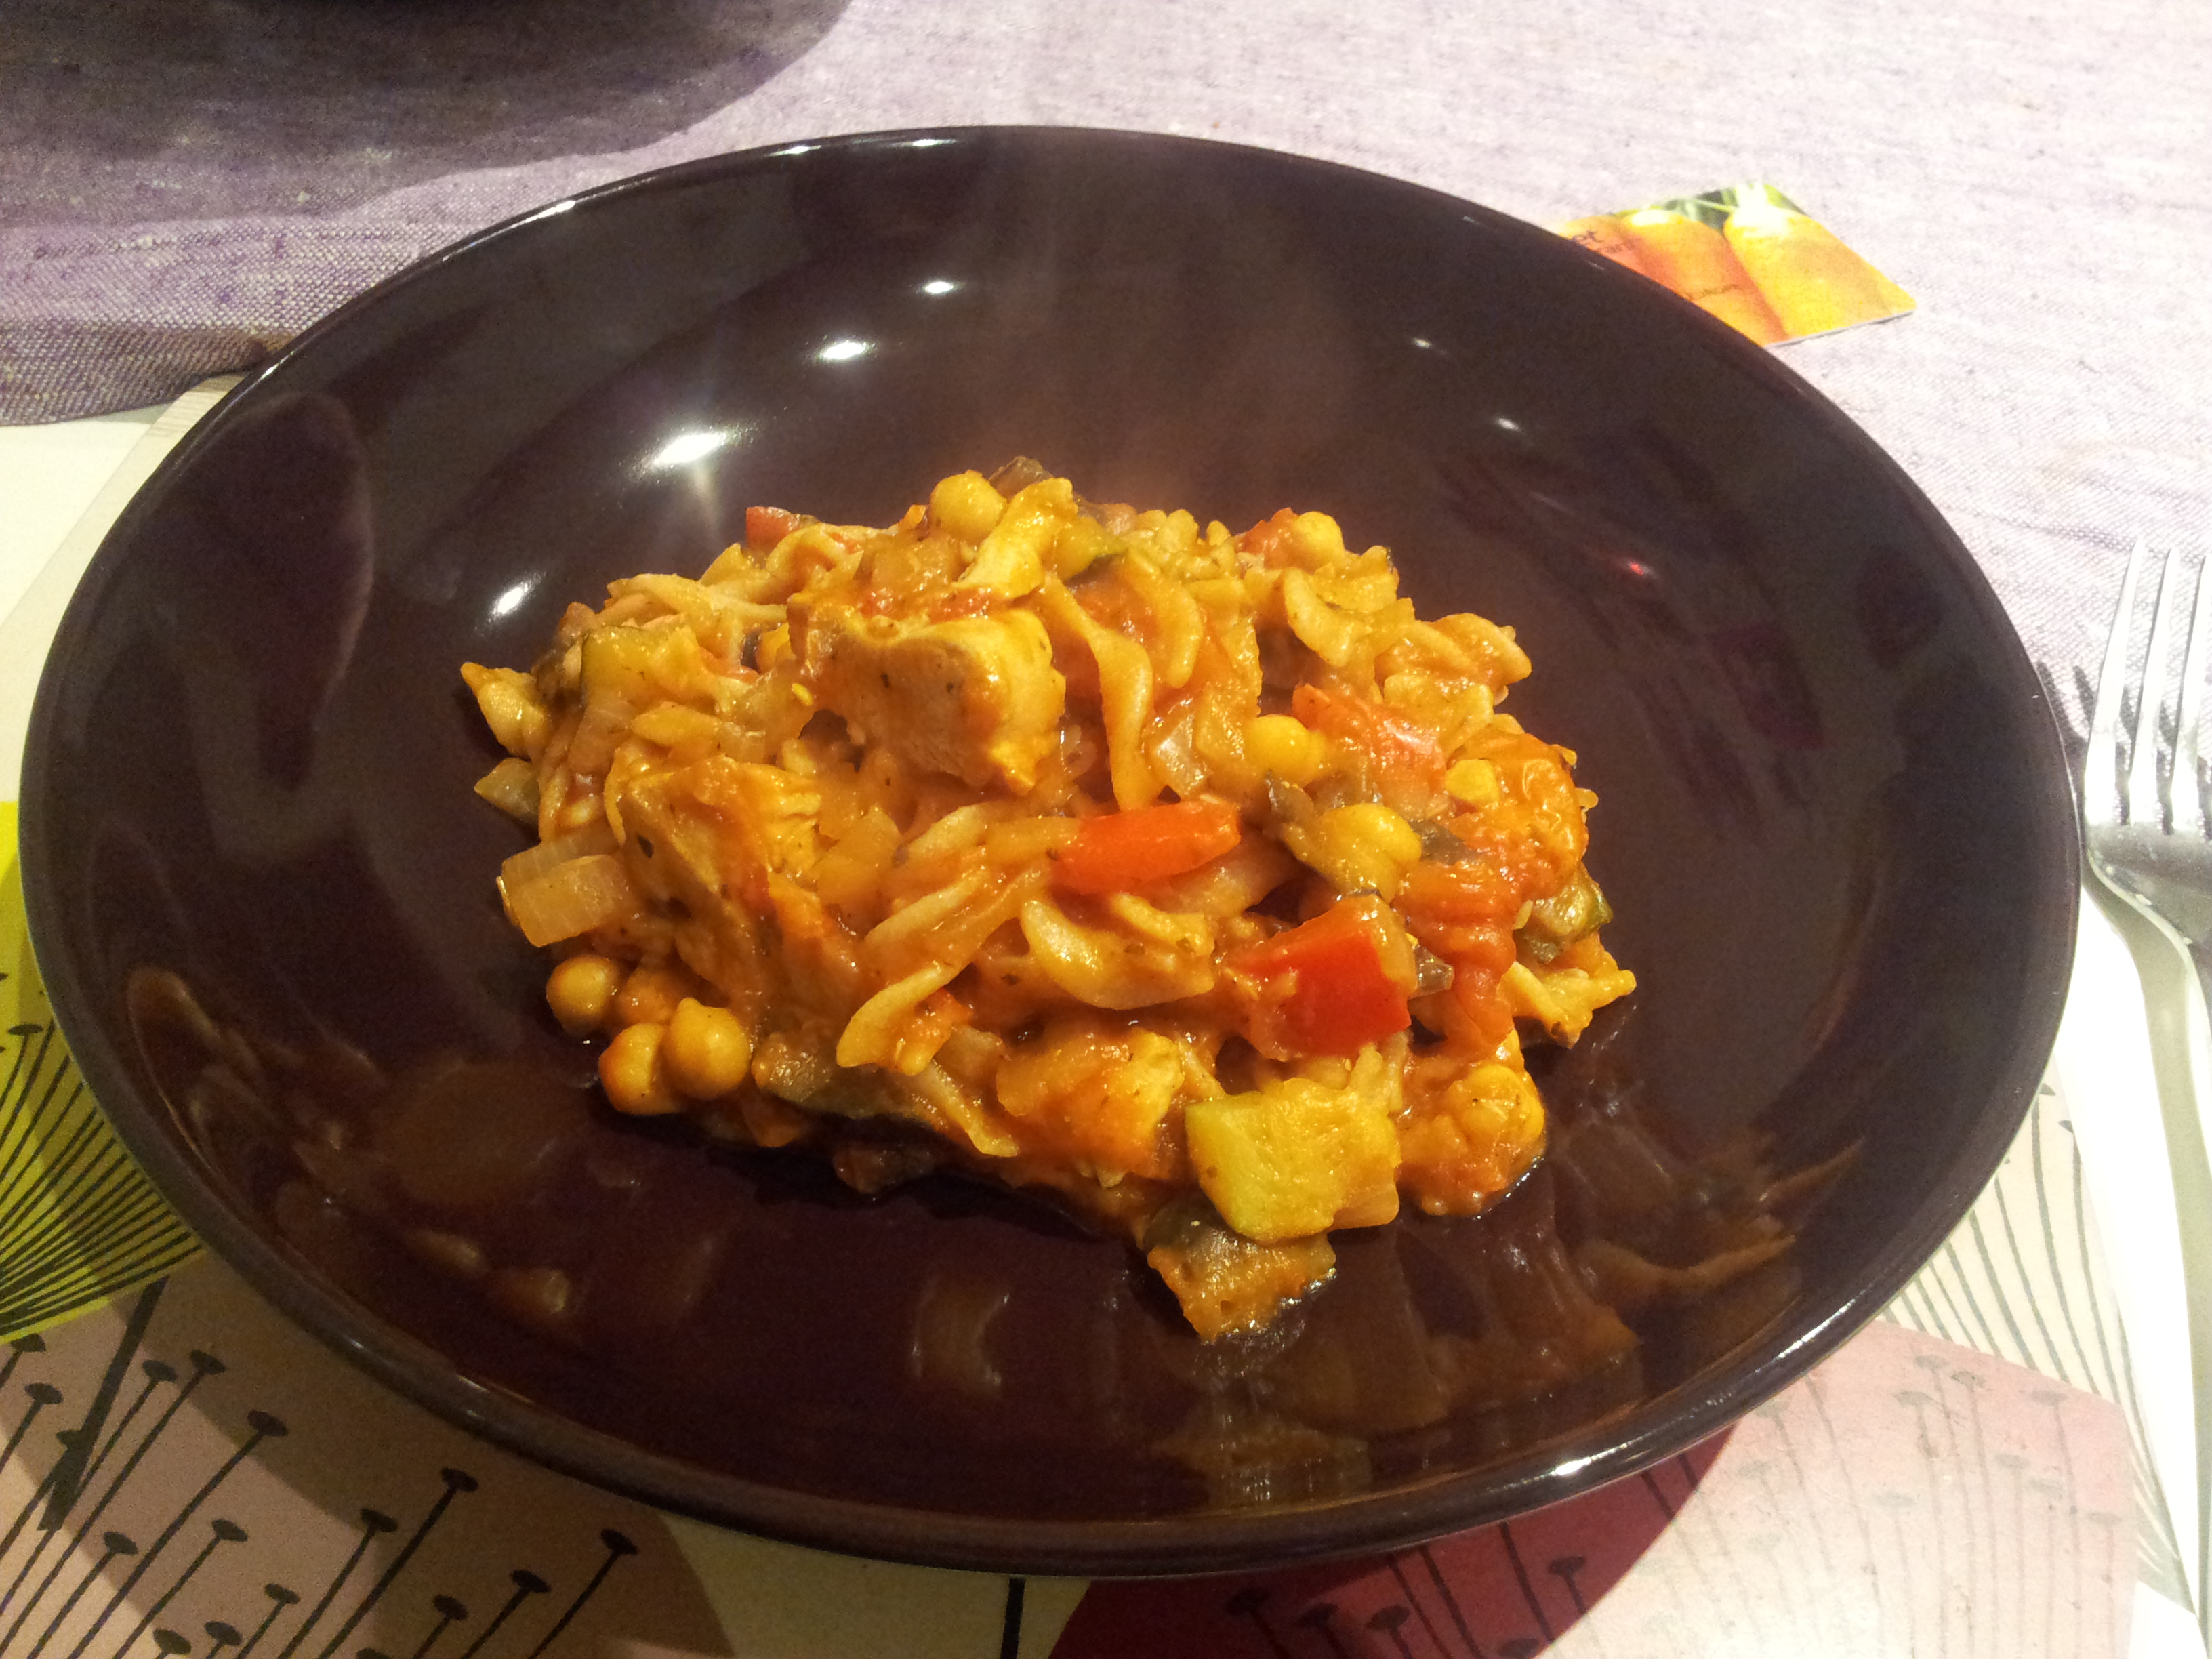
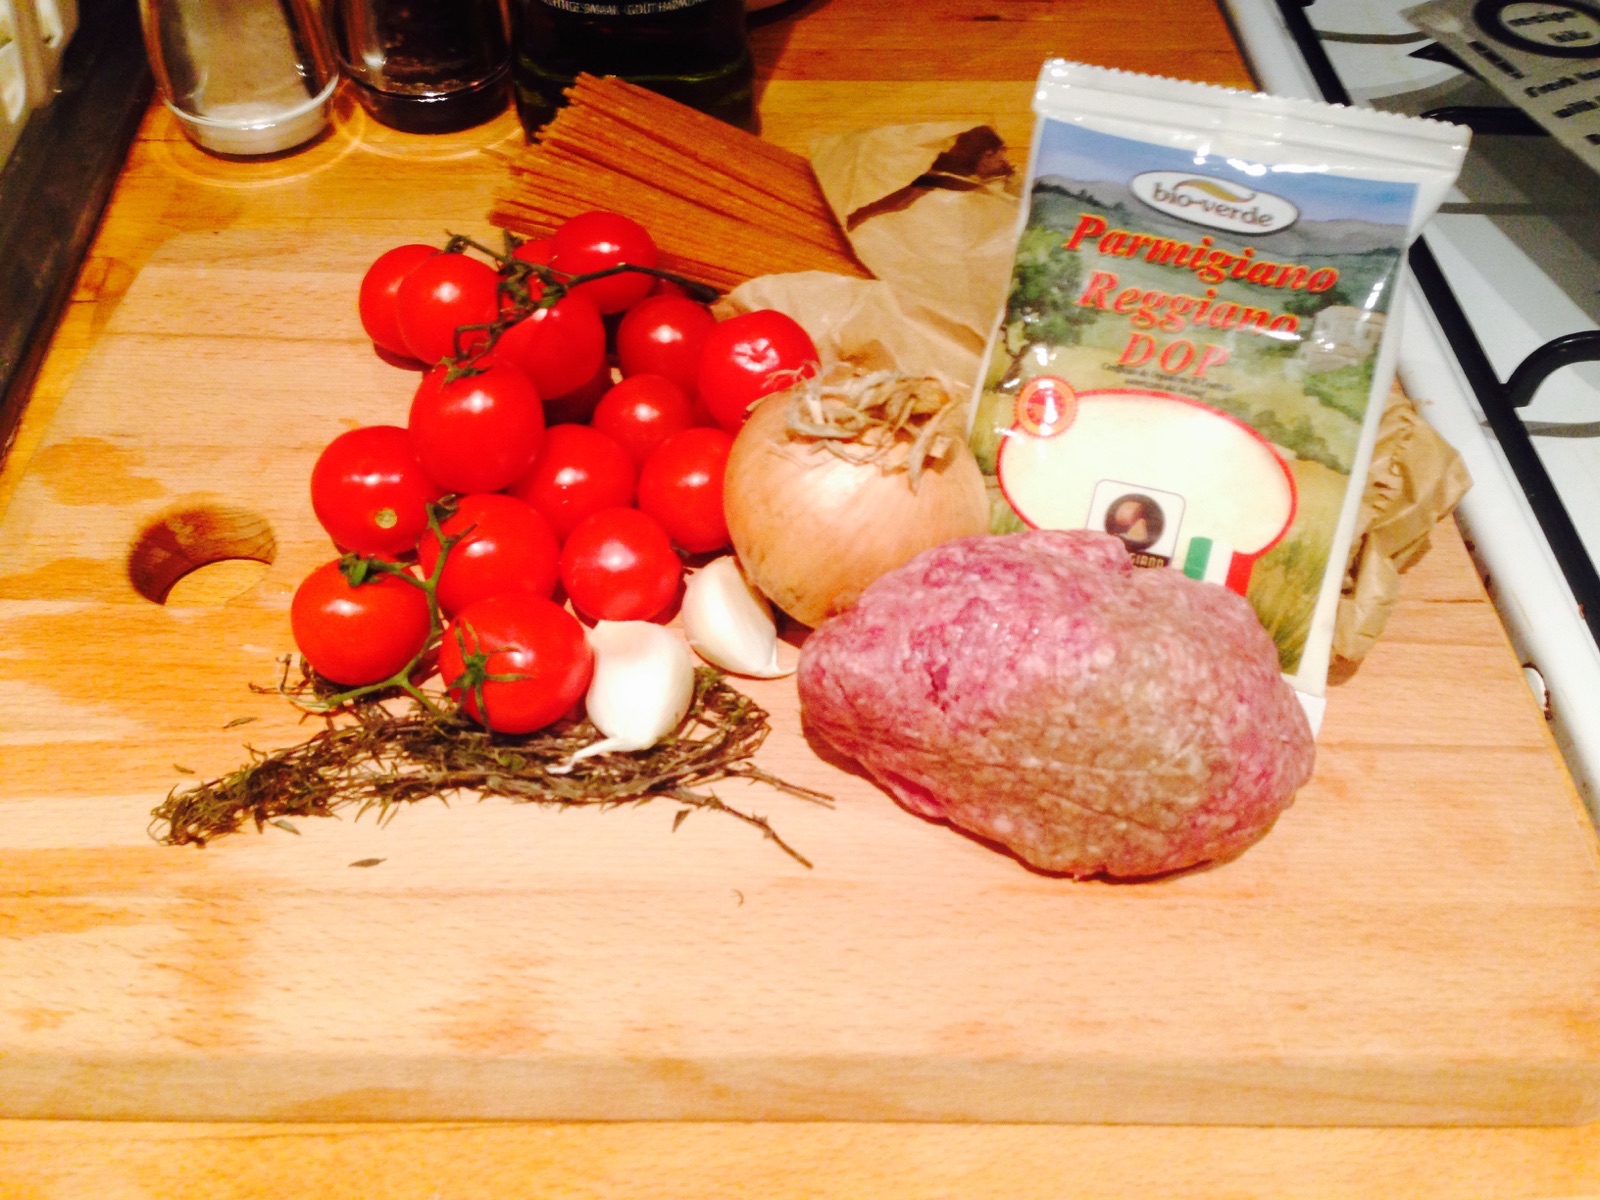
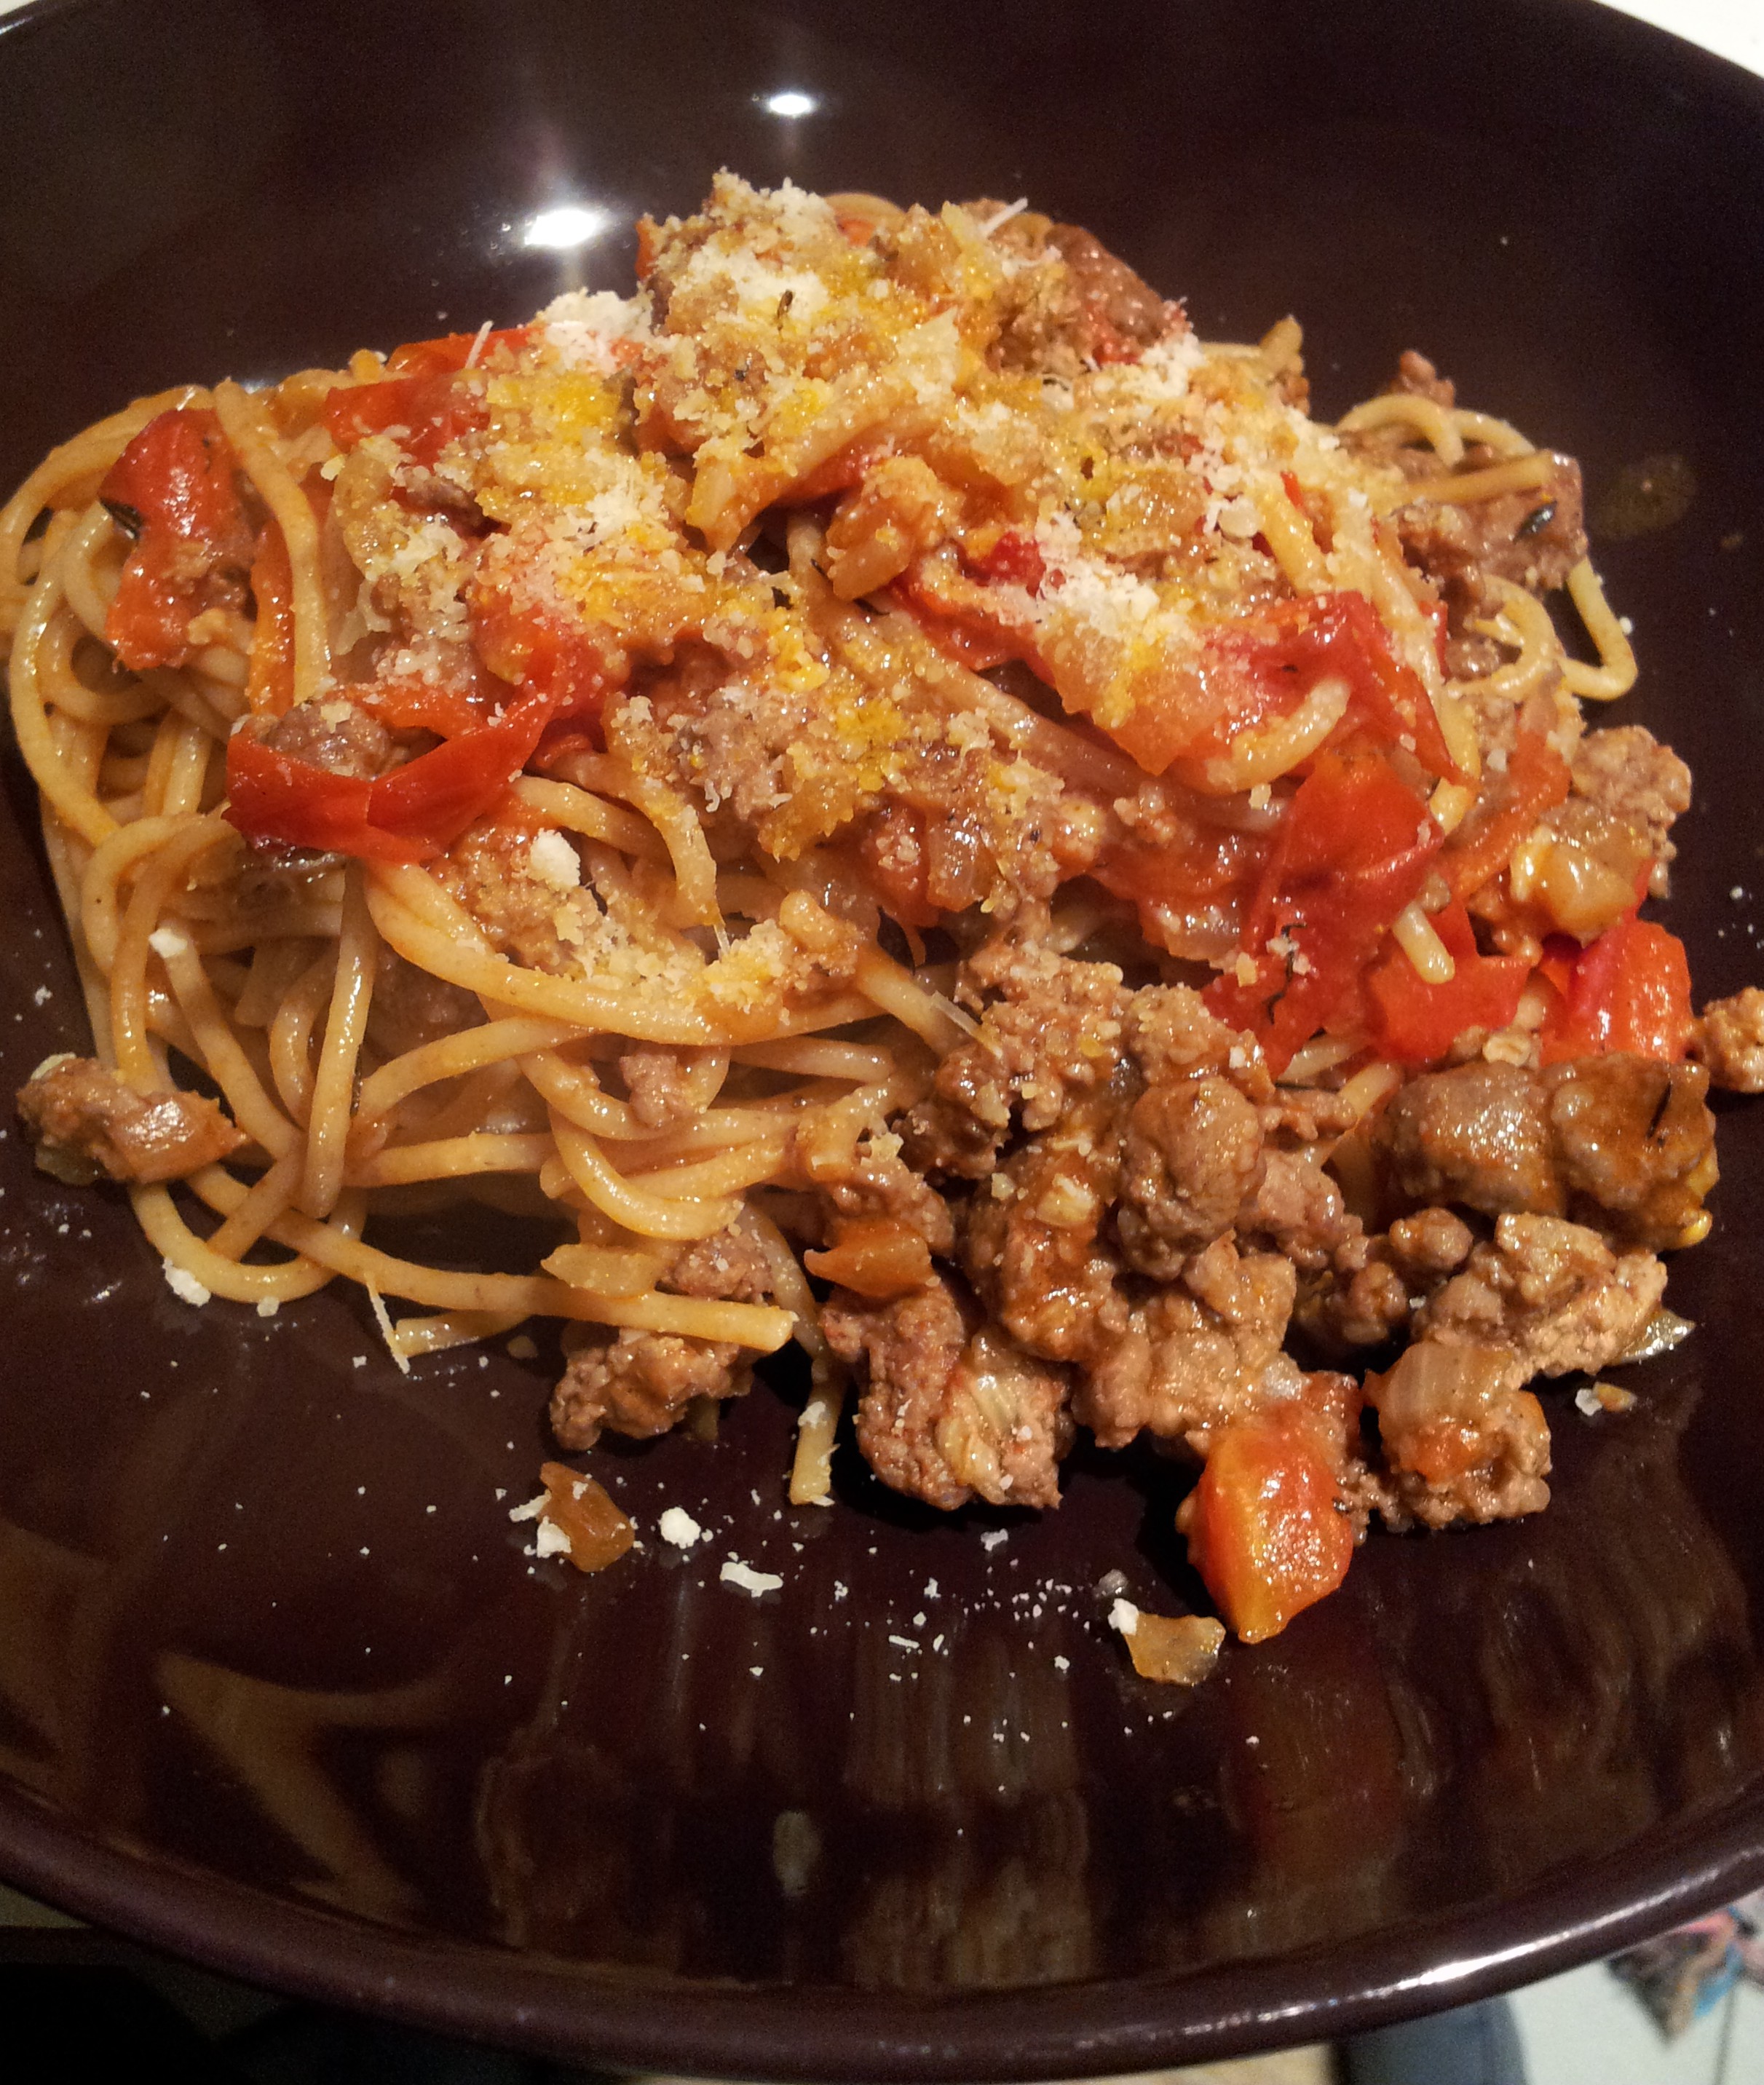
Quick fresh tomato ragù with thyme. (€11.24 for 2 people)

IMG-20150929-WA0004

This dish is one of our favourites at home, and I usually don’t follow a particular recipe, so I was intrigued to try this one.
Call me lazy, but I tend to use tinned tomatoes with a handful of fresh in my ragù, so it made a nice change, and I did notice the taste difference. As with the pork, the meat was of excellent quality and really added to the dish. This is also the best wholegrain pasta 20150928_202954I have ever tasted!
With this recipe, the portion sizes were just right for 2 people (although we did have some Parmesan leftover!) Wholegrain pasta is great for slow release energy and fills you up, and the minced beef is a good source of iron. I personally would add a bit more veg in there; to include some mushrooms, courgette, aubergine or bell pepper would boost the vitamin and fibre content.
This recipe is definitely a good one for after a busy day, as it’s quick to prepare, filling and a true home comfort.

Overall, I was really impressed with the quality of the ingredients, and the recipes all tasted really good. Cirkle offer loose products as well, and you can purchase fruit or vegetable boxes, but I think that the recipe kits are definitely worth a go if you find yourself lacking inspiration in the kitchen. Given the quality and quantity you get, I think that they work out really good value too! I will definitely be using them again in the future, and look forward to trying some more of their recipe kits.

If you are one of my clients and want to give Cirkle a try…ask me about how you can get a free small fruit box in your order!

(Please note: I received this recipe kit for free, but all my opinions are 100% honest and I was not reimbursed for this review. Please see my disclaimer for more information.)
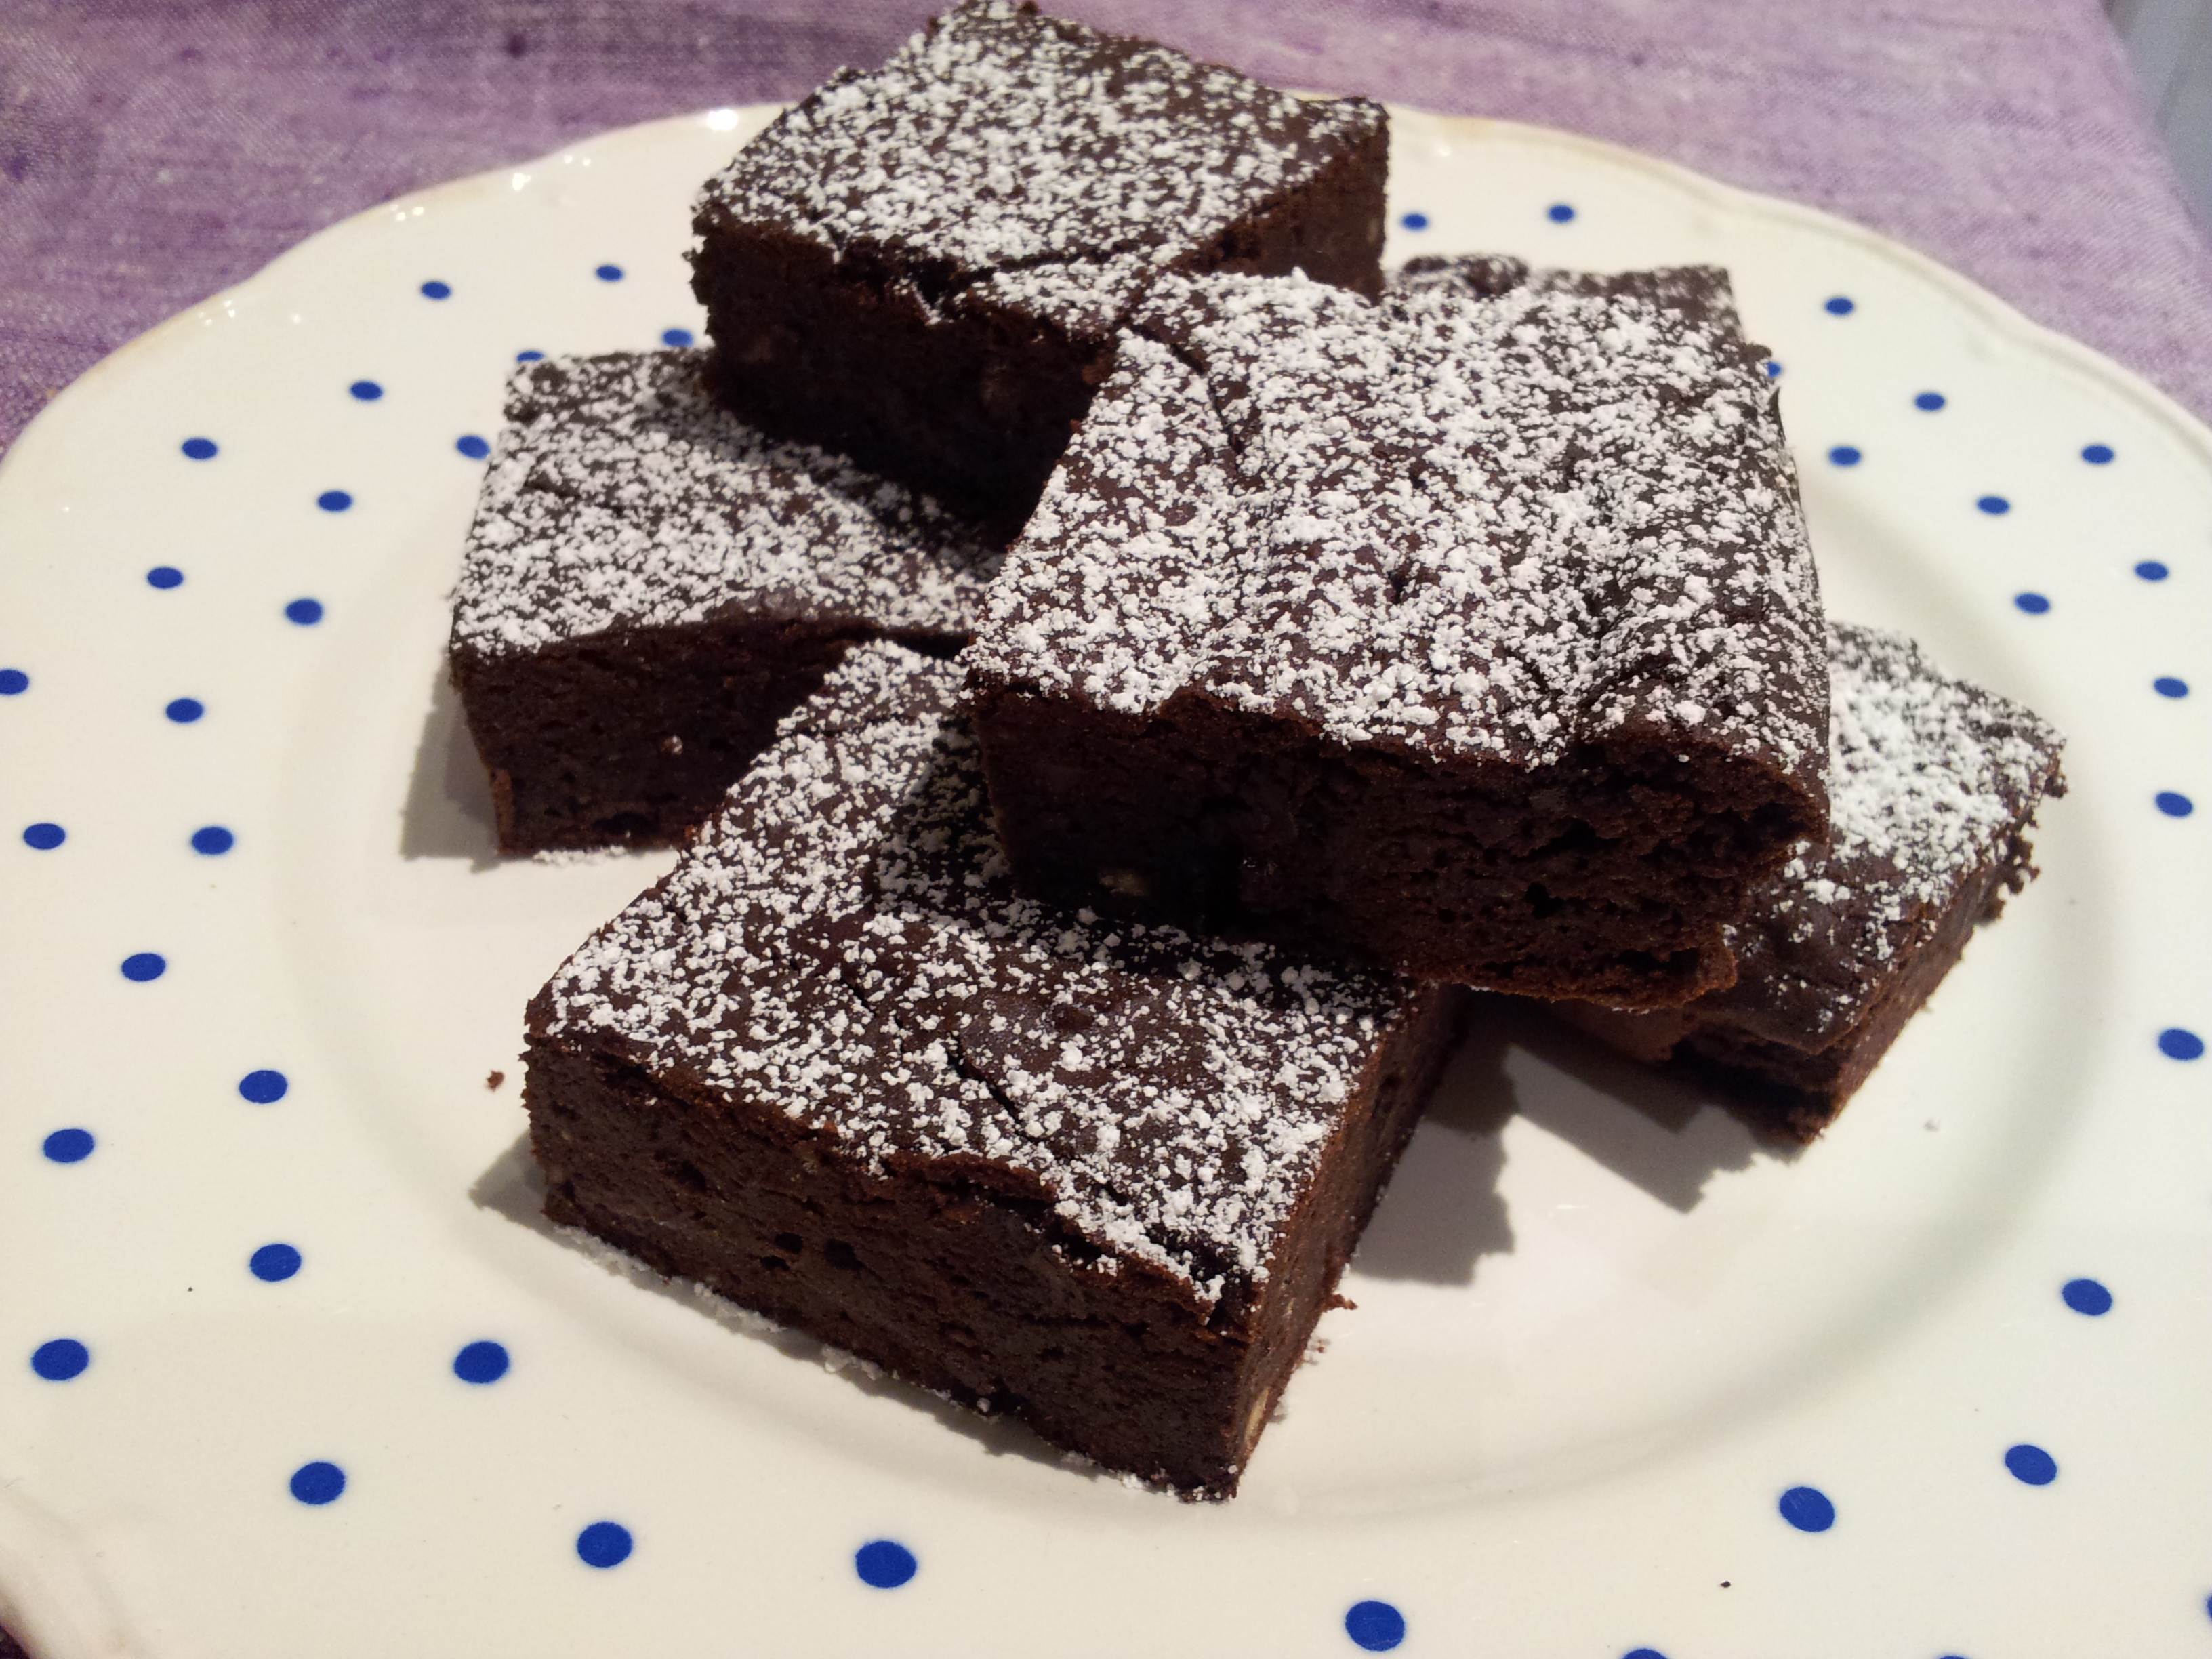
Recipes

Broccoli & Bacon Salad

20150725_153542
Think “salad” and I bet your immediate thought is lettuce, tomato, cucumber maybe some onion and pepper?? Well this does not have to be the case! Keep things interesting by varying your salads, and chances are you won’t get bored of them and will continue to enjoy them.

Summer is THE time for salads for many people. I think there’s something more satisfying about cold, fresh, crunchy vegetables on a hot day than having cooked vegetables. That said, I’ve always preferred raw vegetables, ask my nan, I used to live on raw carrots as a 2 year old! Anyway…I guess in summer having raw veg in salads saves us having a hot kitchen!

My SO introduced me to this salad, and it was one he discovered after a family friend made it for a BBQ. He was always going on about it, and, as I have a preference for raw veg, it wasn’t long til it became one of my favourites too. I’m not sure on the original recipe, but this is how we prepare it.

INGREDIENTS
1 head of broccoli
1 medium red onion
3-5 slices of thick bacon (cut into small pieces)
1 teaspoon mayonnaise
1-2 tablespoons of creme fraiche & natural yoghurt (I use low fat versions)
Salt & pepper to taste

METHOD
1. Break the broccoli into small florets….and I mean small, like the size of your fingernail. Place this in a bowl to one side.
2. Chop the onion, also into small pieces, and add this into the bowl with the broccoli.
3. Fry the small pieces of bacon (or you can grill the whole pieces and cut them up afterwards). If you’ve fried, drain and pat the fat off before adding it to the bowl with the broccoli.
4. Scoop in the mayo with 1 tablespoon of yoghurt and 1 tablespoon of creme fraiche. Stir this in and see how it looks, it you feel it needs more “sauce”, add more creme fraiche or yoghurt.
5. Season with salt and pepper, and you’re ready to go!

NUTRITION (for 1/4 of above recipe):
CALORIES: 96 kcal
PROTEIN: 5g
CARBS: 7g
TOTAL FAT: 5g
SATURATED FAT: 1.5g

Healthy Living, Recipes, Weight Loss

Overnight Oats

20150624_081620

Rushed in the morning; no time to make breakfast?
Want something quick, convenient and tasty that will keep you going till lunch?
Enjoy porridge in the winter but not so keen on hot breakfasts through the summer?

It’s your lucky day!

This recipe can be prepared the night before, saving you loads of time in the morning! It’s healthy, tasty and can be varied by adding different toppings so you don’t get bored.

INGREDIENTS
Porridge oats (40g) (use gluten free oats if necessary)
Milk (120-150ml) (The nutritional values below are for semi-skimmed cow’s milk, but you could also use soy, almond or any other milk!)

METHOD
1. Put the oats into a bowl (or a sealable jar if you have one!)
2. Pour over the milk.
3. Cover with cling film or close the lid, and leave the oats in your fridge overnight.
4. The following morning, choose the toppings of your choice and enjoy. (You can also pop the bowl in the microwave for a minute if you prefer it warm.)

NUTRITIONAL INFO:
Calories
: 220kcal
Carbs: 33g
Protein: 11g
Fat: 5g
Saturated fats: 2g

20140730_083037 (2)Topping ideas:
– Banana (or just about any other fruit!)
– Frozen berries
– Chopped apricots
– Yoghurt
– Chopped nuts
– Seeds
– Honey
– Peanut butter

Recipes

Banana Ice Cream

20150528_114415
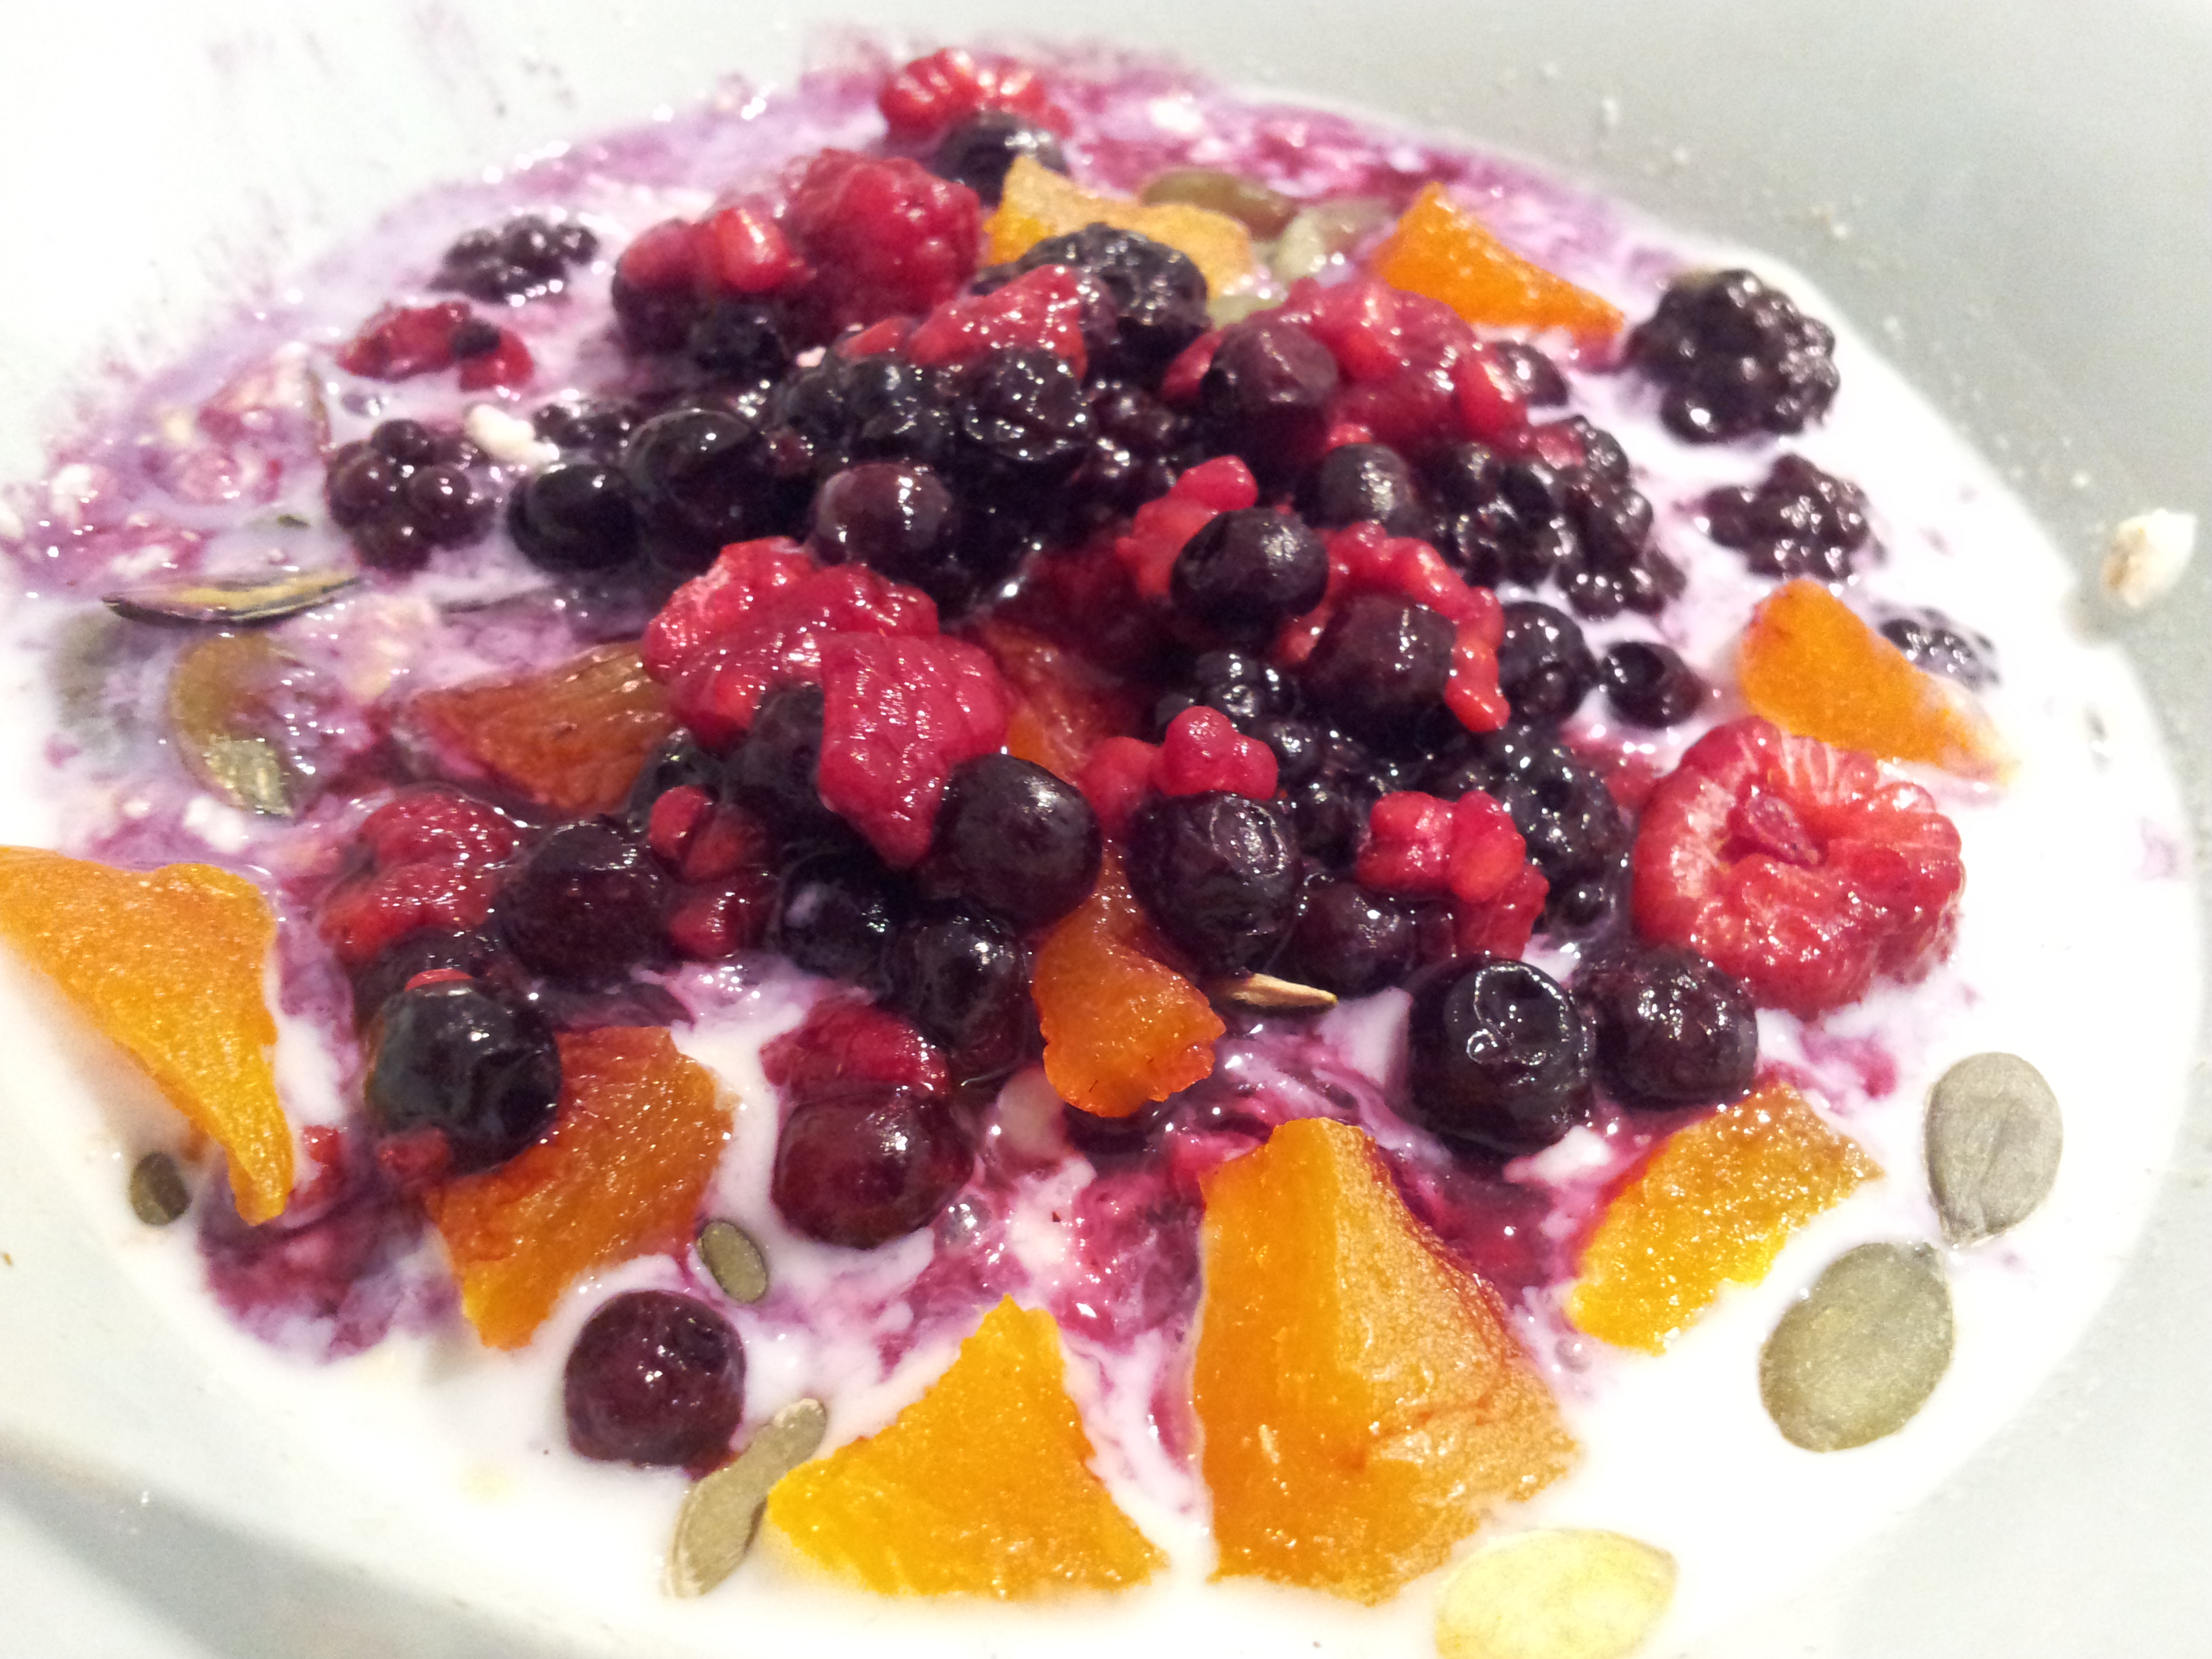
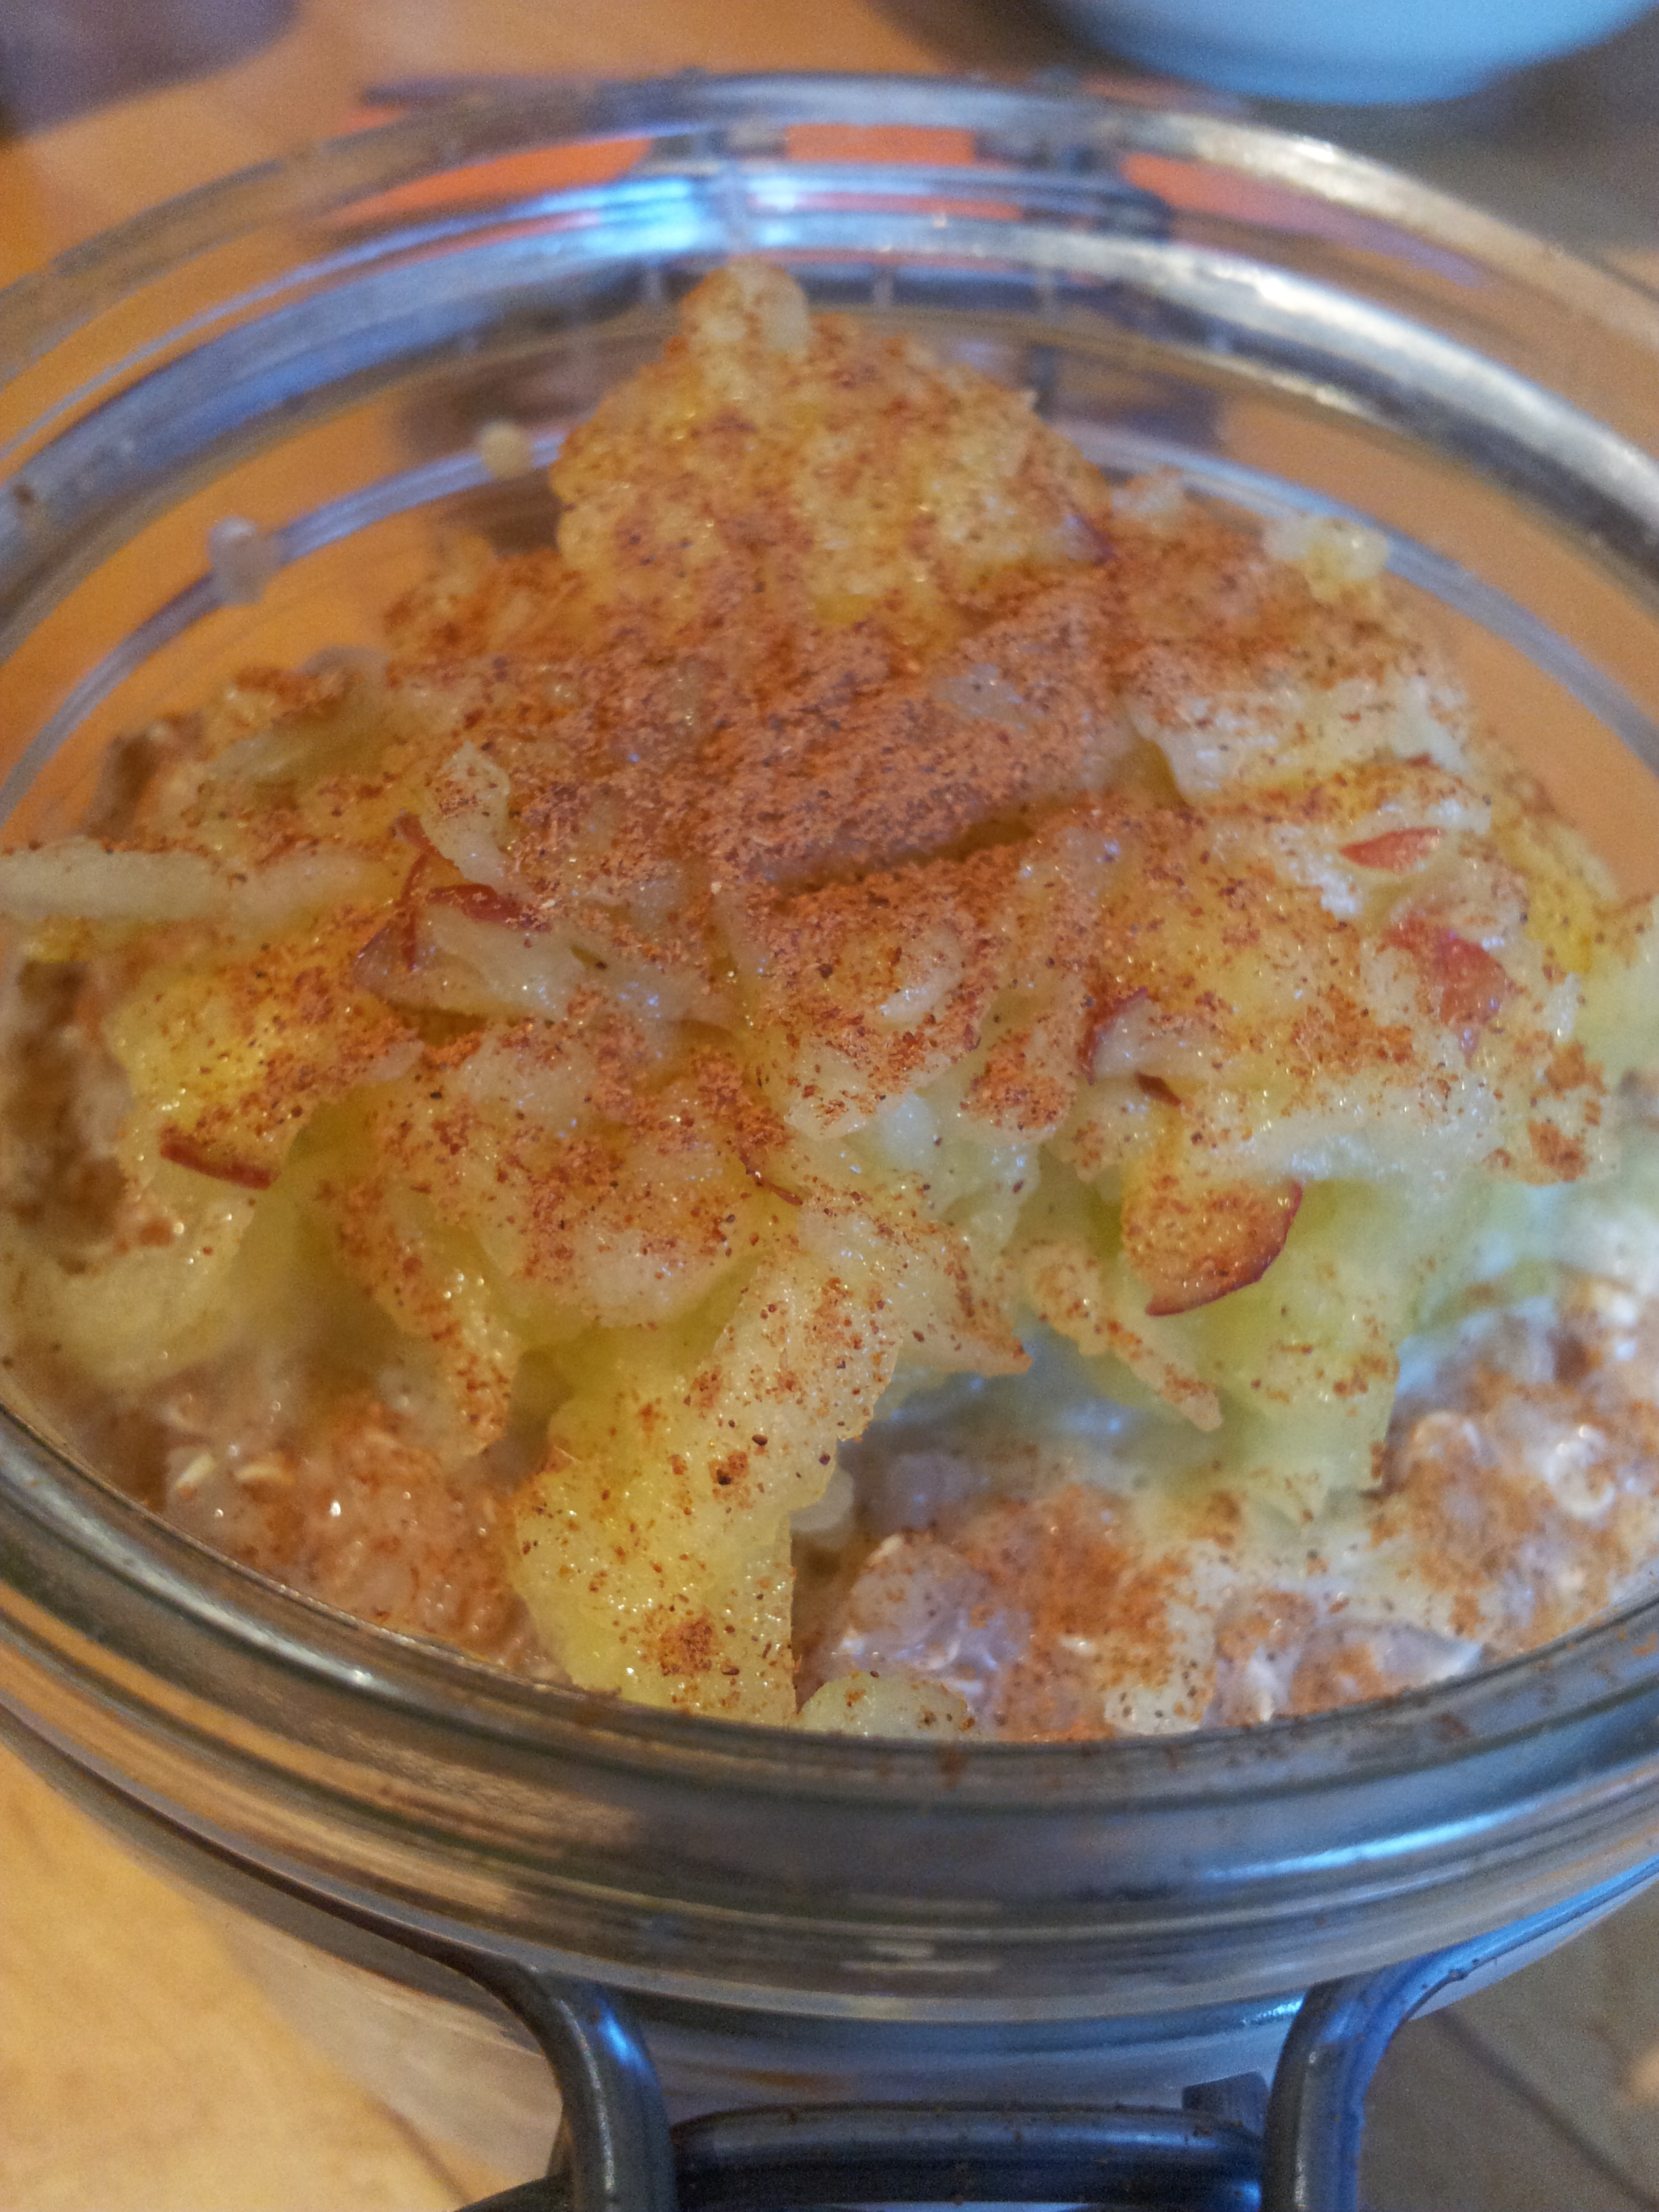
It’s that time of year again where ice cream is everywhere. There’s nothing better than enjoying a cooling ice cream after a long day in a hot office, and now you can do it without the added sugar!

This recipe is SUPER SIMPLE! It has just one essential ingredient.

I’ve known about this idea for a while, but never tried it. I tried it last week and now I’ll permanently have bananas in my freezer, and when you taste this you’ll find out why! It actually tastes like creamy, ice cream. Suitable for just about anybody; those watching their weight, those with lactose intolerance, vegans, children, even babies! Plus you can vary it and make it “more gourmet” by adding in different things.

Healthy, cheap, tasty and sooo easy to make!

You’ll need a banana and a food processor.

(This recipe works best with ripe, sweet and soft bananas…the ones that are starting to go a little black in your fruit bowl!)

METHOD
1. Peel the banana, slice into coins and freeze in an airtight container or freezer bag (a couple of hours should be enough but overnight is best).
20150528_113850

2. Pop the banana slices into a food processor and blend.

20150528_1140133. First, they’ll appear crumb-like (see picture >>). Use a soft spatula to scrape the bits off that are stuck to the sides and keep going!

4. Once your bananas are becoming smoother, you can add in other ingredients if you want (see below for ideas).

5. Keep blending until your bananas (and extras) resemble a smooth, creamy texture…like ice cream!

6. You can enjoy it immediately, or you can put it into an airtight container and put it back in the freezer until it becomes more solid.

Additional flavourings (some not suitable for babies <12 months age):
– Walnuts (or other nuts)
– Peanut butter
– Frozen berries
– Honey
– Chocolate chips
– Nutella
– Crumbed biscuits (speculoos or ginger nuts!)
– 1/2 teaspoon Cinnamon or ginger

Do let me know what you think and if you try adding in different things!

Recipes

Bara Brith

I made this for the European bread festival at Schuman last weekend, and it was very popular. Lots of people asked where they could buy it, and upon being told I’d made it, I promised them I would put it my blog. (It didn’t even last long enough for me to take a picture!)

Bara Brith is Welsh ‘speckled bread’. It’s not really bread at all, more like a fruit cake, but one that is very special to me, given my Welsh heritage. I don’t often post cake recipes on here, but I love baking! This recipes is low in fats, but it does contain quite a bit of sugar from both the muscavado and the dried fruit.

You need to start making this the night before, as ideally the fruit needs to soak in the tea over night.

Ingredients
350g self raising flour
150g muscovado sugar (or any brown sugar)
1 egg
300ml tea (you can mix it up here, but I normally use Welsh – or English – breakfast)
450g dried fruit (raisins, sultanas, cranberries and mixed peel work well)
1 tbsp honey
1 tsp mixed spice
2 tbsp orange juice
1 tbsp orange zest

Method
1. Tip the dried fruit into a large bowl (it will expand), and pour the tea over it. Cover and leave it to soak overnight.
2. Preheat your oven to 160’c and grease a loaf tin lightly with butter.
3. Grate the orange to get the zest, then cut in half and squeeze  to get some juice. Sieve it to ensure there’s no pips!
4. Mix together the sugar, egg, honey, orange juice and zest.
5. Add this mixture to the bowl containing the fruit and mix well.
6. Gradually sieve in the flour and mixed spice, stirring in as you go.
7. The consistency of the mixture should be thick and drop slowly off the back of a spoon. If it’s too thick, slowly add a little milk until you reach the desired consistency.
8. Pour the mixture into the greased tin, and place into the oven. It will need around 1.5-2 hours. The top should look golden, and be firm to the touch in the middle.
9. Allow to cool, before slicing into 12-14 slices and enjoying with a nice cup of tea.

This is the one picture I do have…

IMG_20150508_231258

Nutritional info (based on the above recipe yielding 14 slices):
CALORIES: 230kcal
TOTAL FAT: 0.6g
SATURATED FAT: 0.1g
PROTEIN: 3.4g
TOTAL CARBOHYDRATE: 57g
SUGARS: 30g

Recipes

Chickpea & raisin cookies

Here’s another chickpea recipe for you to try out! If you missed my chickpea chocolate brownie recipe, click here to take a look.

I’m having lots of fun trying out chickpea recipes! These cookies are nutty, sweet and more filling than your standard cookie. They’re also flour-less so suitable for those intolerant to gluten. When they’ve cooled they’re more of a cake texture than crunchy, but still, the perfect accompaniment to your afternoon cup of tea. Crunch from the nuts and sweet raisins, plus the protein will make you feel fuller so one will hit the spot!

20150329_165331Ingredients:
240g chickpeas
40g powdered almonds
100g raisins
80g chopped almonds
1 egg
80g sugar
1 tsp cinnamon
1 tsp baking powder
1 tsp vanilla extract
Pinch of salt

Method:
1. Preheat the oven to 220’c and line a flat baking tray with greaseproof paper.
2. Add all of the ingredients except the raisins and chopped almonds to a food processor and blend for a couple of minutes, until you have a smooth mixture.
3. Add the almonds and raisins to the mixture and ‘pulse’ the food processor a couple of times to mix them in.
4. Dollop a small ball of the dough onto the greaseproof paper and press flat into a cookie shape. Repeat until you have used up all the mixture (I made 18 from the above ingredients).
5. Place in the oven for 20-25 minutes until the edges are starting to get crispy. Let cool and enjoy 🙂

Store in an airtight container!20150329_165525

The nutritional information below is per cookie:
CALORIES: 100kcal
TOTAL FAT: 4.4g
SATURATED FAT: 0.3g
PROTEIN: 3.2g

Recipes

Chickpea Brownies

20150329_180015These gooey, delicious mouthfuls of chocolate indulgence are the perfect bake for the Easter holidays! Chuck all the ingredients into a food processor, throw in the oven and…voila!!

Honestly…don’t let the chickpeas put you off. They taste fantastic! Plus, they’re suitable for those with coeliac disease as they are gluten free!

The fact that they contain more protein than your standard chocolate brownie should help with satiety! The perfect sweet treat for a little bit of what you fancy!

Ingredients:
300g chickpeas
2 eggs
40g cocoa powder
80g sugar*
1 tsp coconut oil (melted)
1 tsp baking powder
1/2 tsp salt
20mls espresso coffee (optional)**
100g dark chocolate chips

*You can replace with sweetener if desired
**Another suggestion from a blog reader is to include marmalade in the mixture to give it an orangey taste…yum!

Method:
1. Preheat the oven to 180’c and line a baking tray with greaseproof paper.
2.  I used a bar of dark chocolate (at least 70%) and put it through the food processor to make chocolate chips. It’s a good idea to leave some bigger chunks as this adds to the gooey texture of the brownies. Tip this into a bowl for the moment.
3. Place the chickpeas, coconut oil, coffee and eggs into the food processor. Blend for a minute or so.
4. Mix together the dry ingredients (cocoa, sugar, baking powder and salt). Add this to the chickpea mixture in the food processor and continue to blend….well!
5. Once you have a smooth mixture, stir in your chocolate chips.
6. Now pour the mixture into the lined tray. You’ll need to flatten it a little as the bake won’t change shape much, so ensure it looks how you want it to.
7. Place in the oven and bake for 40-50 minutes, until the top is firm to the touch and the surface has begun to crack. A toothpick should also come out (relatively) clean.
8. Let the bake cool completely before cutting into 12 pieces. Dust with icing sugar, and serve 🙂

The nutritional information below is per brownie:20150329_175956
CALORIES: 134kcal
TOTAL FAT: 4.8g
SATURATED FAT: 2.5g
PROTEIN: 4.25g

I love receiving pictures of you making my recipes:

17116_10155461771410389_1640994925453148783_n

rachel brownies

Recipes

Chickpea and spinach risotto

Risotto is a bit of a go-to for me. I like the whole one-pot thing it’s got going on, and I also find its gooey deliciousness indulging and comforting. Risotto is also easy to adapt by adding different vegetables and ingredients. This particular recipe is often one I use when I’ve forgotten to get meat out of the freezer, or one for meat free Monday!

IMG-20150304-WA0005Ingredients (serves 2):
100g risotto rice
100g chickpeas
1 large onion (chopped)
2 cloves garlic
1 tablespoon butter
100ml dry white wine
100g mushrooms
200g spinach
100g courgette
1 tsp oregano
Lemon zest
500ml stock + water
Salt and pepper to season

Method:
1. Heat the butter over a low heat in a large saucepan big enough to hold all of the ingredients. Add the chopped onion, garlic, oregano and seasoning. Stir the onions and keep cooking them till they become translucent, don’t let the garlic burn.
2. Add in the risotto rice and allow the grains to heat up slightly. Then, pour in the white wine. It will sizzle and smell amazing.
3. Let the rice take up the white wine, and when it is all absorbed add a small amount of the stock. This is where the continuous stirring comes in. Little stock, stir, let rice absorb, stock, stir, absorb…..
4. When you’re about half way through your stock, add in the mushrooms, courgette and chickpeas. Then, continue to add the rest of the stock little by little. (If your rice hasn’t cooked but you’re out of stock, continue the same process with water until the rice is cooked.)
5. For the final few minutes, add the spinach and allow it to wilt into the risotto before stirring in. I like to add a little lemon zest here too but that’s optional!
6. Taste, and season further if required. Serve and enjoy (a little Parmesan would also work nicely!)

The nutritional information below is per serving:
CALORIES: 430kcal
TOTAL FAT: 8g
SATURATED FAT: 4g
PROTEIN: 14g

Recipes

Mediterranean Hotpot

I’m a big fan of Mediterranean food because it’s healthy, tasty, comforting and, typically, easy to make. You can pretty much throw in any veg and it goes well together. When it comes to dishes like this, I tend to just use up what veg we have left. Consequently,this recipe probably isn’t one for those who like precise, follow-to-the-letter recipes. However, it’s quick, sooo easy and packed with vegetables, fibre and protein.

Serves 4

20150303_184130Ingredients

Chicken (I used 2 breasts, diced into bitesized chunks)
2 large onions
2 tbsp vegetable oil
1 tin of chickpeas, drained
1 aubergine
1 courgette
Mushrooms (a couple of handfuls)
1 pepper
1 chili
2 cloves of garlic
Cherry tomatoes (a couple of handfuls)
1 tin of chopped tomatoes
Water
1 tbsp basil
1 tsp thyme
1/2 tsp turmeric
Salt & pepper to taste

Method

1. Add the oil to a large pan and heat on low.
2. Dice the onions, finely chop the garlic and add to the pan. Leave to soften for a few minutes.
3. Add the bitesize chicken chunks to the pan and leave for 5-10 minutes to cook. Meanwhile, chop all your remaining vegetables.
4. Put the vegetables (aubergine, mushrooms, pepper, courgette and tomatoes) into the same pan, along with the chili, herbs and spices. Season if desired.
5. Add the tinned tomatoes and water (I add a further tin full of water). Stir well and leave for 5-10 minutes with the lid on.
6. When the vegetables have begun to cook and the contents of the pan has reduced a little, add the chickpeas. Stir again, and leave for 10-15 minutes with the lid on, stirring periodically.
7. Check the chicken is cooked through and the sauce is piping hot. Your hotpot is ready!

HINT 1: If you want, you can use this dish as a ‘sauce’ for pasta (as pictured above)
HINT 2: A little crumbled feta tastes great on this dish!

The nutritional data below is based on the above ingredients yielding 4 portions (not including pasta):
CALORIES: 300kcal
TOTAL FAT: 9g
SATURATED FAT: 1.2g
PROTEIN: 19g